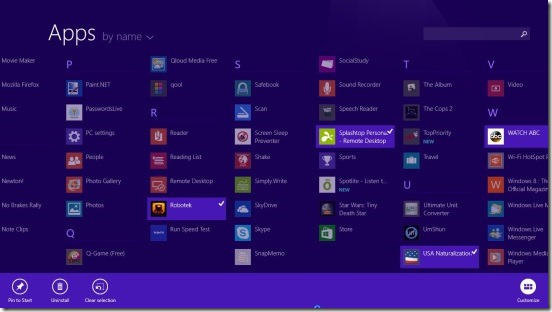
This article is another pretty useful Windows 8 tutorial, that explains how to lock Windows 8 Start Screen Tiles, so that you can prevent someone from uninstalling or customizing the Windows 8 app’s tiles in Start Screen. I am going to use a very handy lightweight desktop app called Tile Locker for the very purpose. The download link for this app is given at the end of this article. This Windows 8 tutorial will help you to prevent users from not only uninstalling the apps but also it avoids the other users from even arranging them, and unpinning. In total completely locking the app tiles.
There are times, when some one removes the apps by mistake or unknowingly; and these uninstalled apps are often the ones which you use regularly and don’t want to lose. Also, there are some Windows 8 apps where you store some data, and uninstalling it also removes all the added data. So to avoid such situations you can use this handy Windows 8 customizing desktop app, and lock all the tiles. Yes, this Windows 8 customizing app locks all the tiles in Start Screen; and that includes both live and static tiles. But the desktop app, is just a start, and may be soon enough there’ll be some features for locking only selected tiles.
Follow the steps of this Windows 8 tutorial that helps you to lock Start Screen tiles:
The Windows 8 and 8.1 do provide option to prevent users from uninstalling apps tile from Start Screen. But there’s no direct medium to do so. And using this Windows 8 customizing app, you can do the same with matter of minutes. All you have to do is download, install, and run it.
- Simply download the app from the link provided, and extract the zipped file.
- Once it gets extracted, locate the Tile Locker.exe file and run it as administrator. It’s compulsory to run the app as Admin.
- You’ll get two buttons in the app’s interface, and simply click on Enable button.
- Once you do that you have to either restart your Windows 8 system or Logout from Windows Live ID, in order to restart the explorer again.
- To logout simply go to Start Screen and click on your user name, you’ll get a list of options. Simply click on Logout.
- Then login again. The tiles in your Windows 8 Start Screen gets locked.
That’s pretty much it. It’s as easy as a pie. Now no one except you (the administrator) can uninstall or even customize the tiles. In order to disable this Windows 8 customizing app’s impressions, simply run the app gain as administrator, and click on Disable. You have to restart the desktop explorer again. Once you do that, you can then uninstall, rearrange, pin/unpin, resize etc.
For the Folks who haven’t upgraded their Windows 8 to 8.1; well, here’s a Windows 8 tutorial explaining upgrading Windows 8 to Windows 8.1 in simple easy steps.
Final note:
That was all about this Windows 8 tutorial. Simply follow the steps, and prevent other users from uninstalling, rearranging, and doing more to the tiles.
Do check out these useful Windows 8 tutorials:
Set Display To Off In Windows 8 After Specific Time.
How To Remove Multiple Windows 8 Apps At One Go.


