Radar is a free iPhone app by Yahoo that works as a travel guide plus itinerary tracker. This app helps you explore your trip locations and offers recommendations for sights to see, places to eat, and activities in any city of the United States. You can filter recommendations with your own preferences like budget friendly, family friendly, rainy day, adventurous, etc. If you find any place or restaurant interesting then you can favorite it and add it to your bucket list. To make it easier for you to use this app, it comes with a chatbot-like interface for assisting you with your trips and exploring cities.
If you’ve any upcoming trips, then this app can fetch the trip itineraries like flight, rental car, and hotel confirmation details from your Yahoo Mail account in order to display popular landmarks, recommended restaurants, places to visit, and more related to your trip location. Let’s say you don’t have any upcoming trip and you’re planning for one, then you can use another app called Tripnary to plan your trip and then use Radar to explore the location.

Note: Currently, this app is only available for the United States and can be used to explore your USA trips or places/restaurants in any city of the Untied States.
How to Use Radar by Yahoo on iPhone:
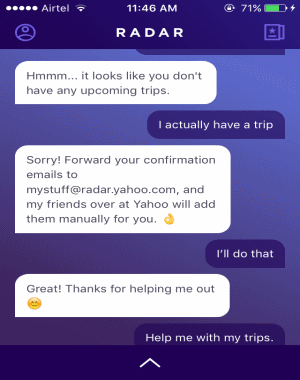
Step 1: After you install and launch the app, it will ask you to sign in using your Yahoo Mail credentials. As soon as you do that, the bot will automatically scan your inbox for trip itinerary confirmation details. If it couldn’t find any itinerary, then it will simply ask you to mail the itinerary confirmation details to “[email protected]” so that they can add it manually for you.
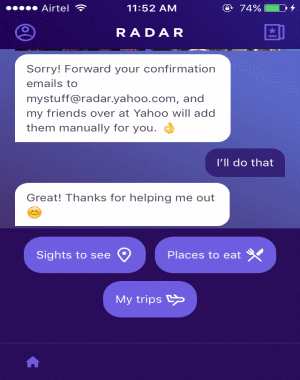
Step 2: After that, the chatbot will take you to the Home screen where you’ll see 3 different buttons at the bottom, named: Sights to See, Places to Eat, and My Trips. Let’s say, you have a upcoming trip, then you can use the “My Trips” button to view your trip itineraries, explore places, restaurants, and activities related to the trip locations. I couldn’t test this feature of Radar as I have no upcoming trips neither I am planning for one. :)
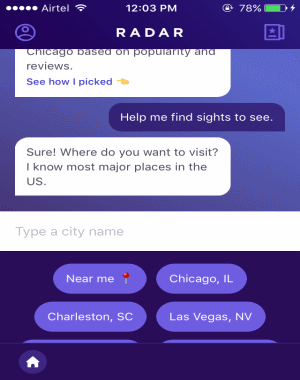
Step 3: The “Sights to See” button will allow to select any city you want and explore some of the popular places which you can visit. For this, simply tap on the button and select a city from the suggested ones or type the name of any city in the input field.
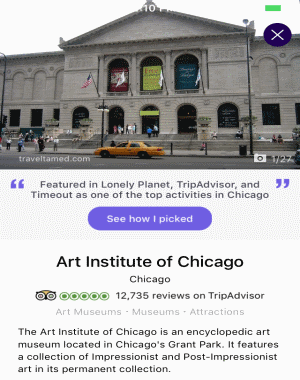
Step 4: As soon as you do that, the chatbot will automatically search and recommend you some of the popular places in the selected city as shown in the very first screenshot. At the bottom of the screen, you’ll also see various options like Family Friendly, Adventurous, Rainy Day, and more, which allows you to filter the recommendations. You can tap the “Start” icon on any recommended place to add it to your favorites and access it later by tapping the “Favorites” icon at the top. It also allows you to explore the places to see what people are talking about them, the address, map location, contact information, etc. To explore any recommended place, all you got to do is simply tap on it once, that’s all.
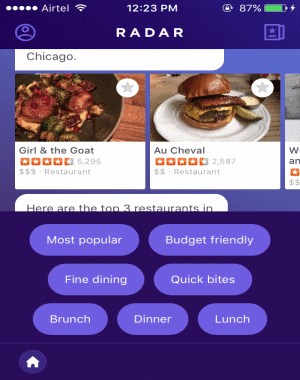
Step 5: In the same manner, when you tap the button “Places to Eat” it will ask you to choose or enter a city name and get recommendations of popular restaurants. You can also apply filters like Most Popular, Budget Friendly, Fine Dining, Quick Bites, etc. to the restaurant recommendations. It lets you browse any restaurant to see the menu, working hours, address, map location, and more.
My Final Verdict:
Radar by Yahoo is a pretty interesting app which lets you explore your trip locations and also any city of the United States for popular places to visit, best restaurants, and activities. It automatically fetches your trip itineraries confirmation details from your Yahoo Mail inbox and lets you view them on Radar. It even allows you to forward trip confirmation emails to your Yahoo Mail account from other services like Gmail, Outlook, etc.