JTS Archiver is a free archive management software for Windows which you can use to create and decompress a whole range of archive formats, ZIP, 7z, TAR and more. Archives can be easily created by adding files and folders to a list and then simple clicking compress. Same thing goes for decompressing, only you’re adding archives to the list, instead of files. Each archive has to be managed individually.
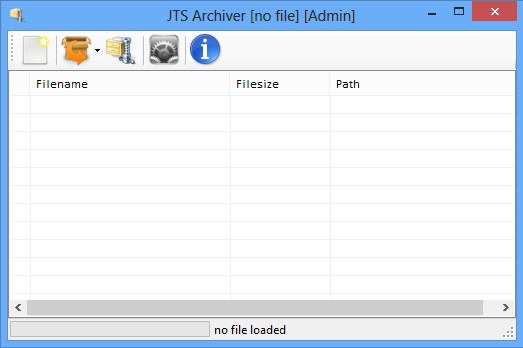
This free archive management software is very small and lightweight, less than two megabytes in size. Interface is also very simple, with just a couple of buttons available in the top left corner and an empty list down below where the contents of the archives that you open up are gonna be shown.
Similar software: Bitser, FreeArc, Longo Match.
The 5 buttons in the top left corner are for opening up files, extracting the contents of opened archives, starting up the file compression tool, applying file associations and last one is for opening up the help file.
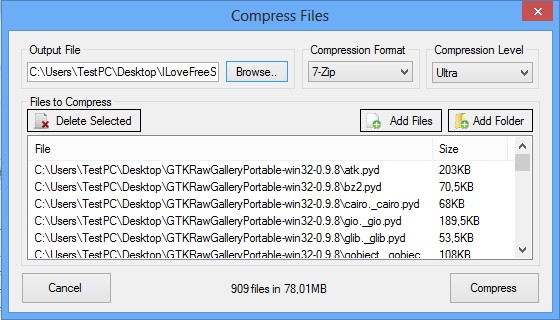
Once that you open up the file compressor, a new window pops-up where you can setup your archive by adding files, folders or both that you’d like to compress to the list down below. Various other options are available above the list of archives. Key features of JTS Archiver – free archive management software are:
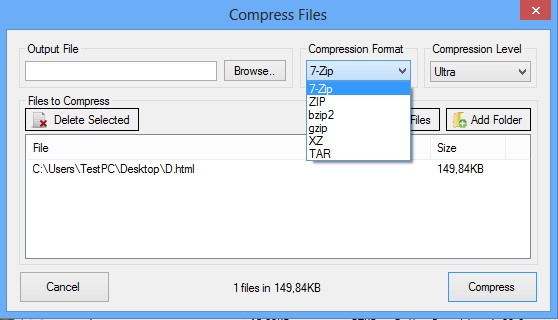
- Good format support – works with 7-Zip, ZIP, BZip, GZip, XZ, TAR, etc.
- Simple and lightweight – small resource usage without complicated menus
- Adjustable compression levels – ultra, high, normal, low, fast, none
- Allows you to create archives of files from multiple locations
- System integration – creates file associations with supported archives
How to extract and create archives with JTS Archiver free archive management software for Windows
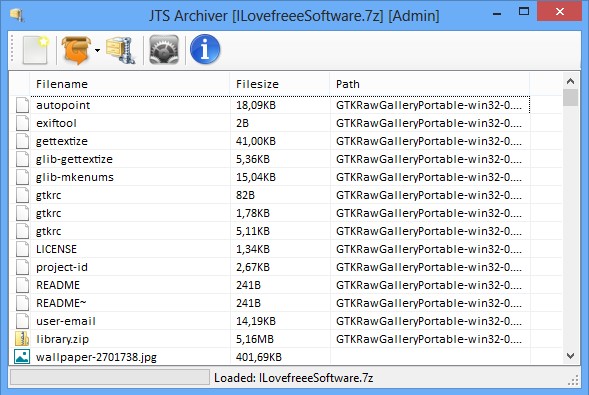
To open up an archive, click on the Open Archive button in the top left corner of the window. Larger archives take some time to parse, but eventually you will see a list of files. Individual files or the entire archive can be extracted by clicking on the Extract button, the second one from the toolbar in the top left corner.
Archives are created by clicking on the third, Compress Files button, from the top left menu. Select Add File or Add Folder, depending on what you’d like to compress. Use the drop down menu and adjust the compression format/strength to your liking. Once that you’re done, click on Compress and the archive should be created in the designated location with the settings you’ve tweaked.
Conclusion
JTS Archiver makes it very easy to create archives. Very useful features is the fact that you can select files from multiple locations and add them all to a single archive. Compression was also quite impressive. We’ve managed to decrease files that were compressed up to five times, from around 100MB to about 20MB. This is with the Ultra compression settings. It takes a bit longer, but it’s worth it when you save hard drive space. When you’d like to extract the files again, just click on the Open Archive button instead and follow the above mentioned instructions.


