Waveroom is a Free Virtual Recording Studio that you can use to Remotely communicate with others as well as Record interviews, Podcasts and Meetings in high quality all from the confines of your browser. It is also very handy when it comes to recording Testimonials, Customer reviews, Remote teaching and more.
The free version of Waveroom allows a maximum of 5 participants (1 host + 4 guests) with a session time limit of 30 minutes. It has currently been released as an Alpha version and the developers may soon introduce the paid subscription plans to overcome the limitations in the free version.
Features:
Crystal clear and high-quality recording of Audio / Video: All the meetings and communications are available in 4k resolution with clean and uncompressed audio immediately at the end of the session. The Video and Audio files are stored separately for each participant and can be accessed from the Room that was used for recording.
Record in any circumstances: Even if your Internet connection is unstable, audio and video files of each of the participants will be available in superior quality due to the provision of local recording and storage.
Group Meetings: You can share the invitation link and communicate with multiple participants from any corner of the globe right from your recording room.
How it Works:
1. Navigate to Waveroom using the link that we have provided at the end of this article and sign in using your Google or Facebook account.
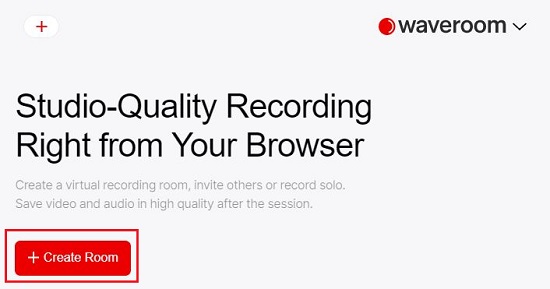
2. Click on ‘Create Room’ to build your first Virtual Recording Room.
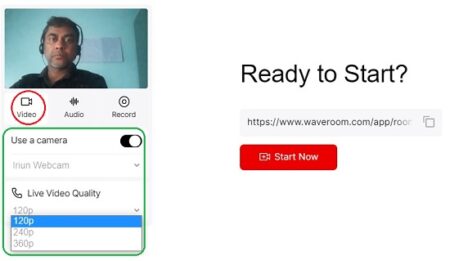
3. Click on the ‘Video’ icon and choose your preferred Webcam from the drop-down list and select the Live Video Quality.
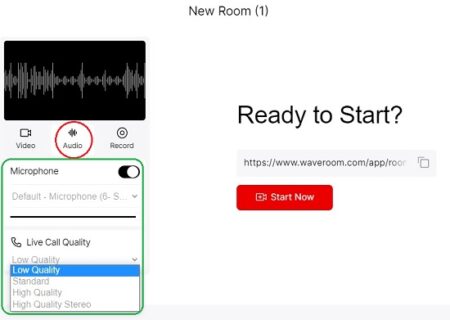
4. Click on the ‘Audio’ icon and select which Microphone you prefer to use for sound recording and the Live Call Quality from the available options such as Low, Standard, High quality and more.
5. Next, click on the ‘Record’ icon and choose the Video / Audio quality for the purpose of recording.
6. To share the Room Link (URL) with others so that they can be invited to join the Virtual Room, click on the ‘Copy’ icon at the right.
7. Click the ‘Start Now’ button to enter the Recording Room.
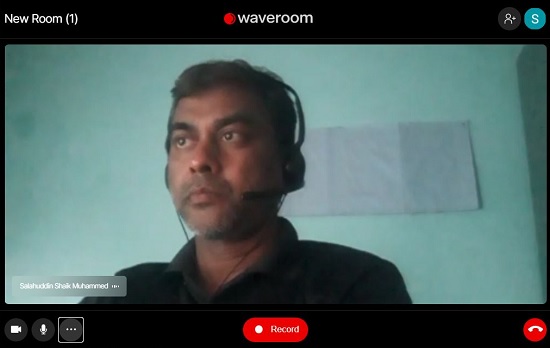
8. You can click on the 3-dots icon at the bottom left of the window to change the settings pertaining to Video, Audio and Recording.

9. Click on ‘Record’ to start recording the session. Once you have decided to end the recording you can click on ‘Stop Recording’.
10. The recording and storage are done locally and immediately after you end the recording, the video and audio files are uploaded to the server.
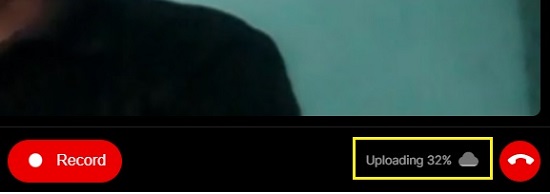
11. Click on the ‘Hang up’ icon to disconnect the Session and leave the Recording Room.
12. Now click on the Recording Room that you used to open it and you will find separate Video and Audio recordings for each participant who was there in the session.
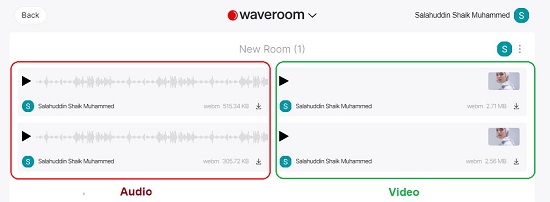
13. You can click on the ‘Download’ icon to download and save any audio / video recordings to your local system.
Closing Comments:
Waveroom is a good Virtual Recording Studio that you can use to communicate remotely and record Podcasts, Interviews and much more. A unique feature of Waveroom is that high quality Video and Audio is recorded separately for each and every participant who was present in the session and these recordings are available immediately after the session completes.
Click here to Navigate to Waveroom and try out the Alpha Version. Let us know what you feel about it.