This tutorial talks about how to update Facebook status from slack, without even accessing your Facebook account.
If you’re hunting for a way to update Facebook status directly from Slack, then I have found a simple way using which you’ll be able to do the same. Let’s say you are a frequent user of Facebook as well as Slack, then switching between both the services for updating status and messaging with your team can be a time-consuming task. But, going through this tutorial you can learn how to update Facebook status from any of your Slack channels and save your previous time.
In this tutorial, I will use a free online tool called “Zapier” in order to update Facebook status from Slack. Similar to IFTTT, it is a simple tool which allows you to easily automate tasks by connecting two different services. So, I am going to connect Slack and Facebook via Zapier and achieve the above task. However, if you’re more into Twitter then you can check out our post on How to Tweet from Slack.
How to Update Facebook Status from Slack:
Step 1: First, browse the homepage of Zapier and then create a free account. After that, click on the button “Make a Zap” at the top of the dashboard. As soon as you do that, the automate task window will appear with two different sections named, Trigger and Action on the left. Above the sections, there will be an input field where you can give a name to your automated task.
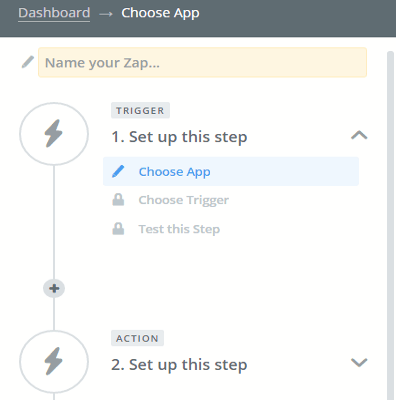
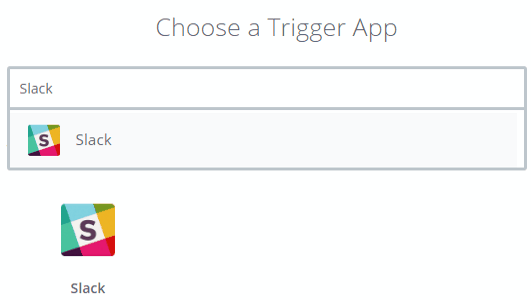
Step 2: To get started with your automated task, simply click on the option “Choose App” in the “Trigger” section. Then it will ask you to choose a trigger app from the predefined list or you can use the search field to find one. Type “Slack” in the search field in order to select it as a trigger app.
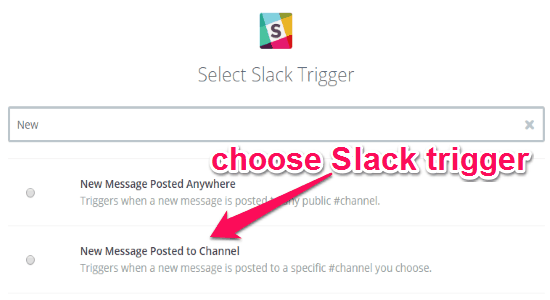
Step 3: After selecting “Slack”, it will ask you to select a Slack trigger among different triggers like New Message Posted Anywhere, New Message Posted to Channel, New Starred Message, New Channel, etc. Now, here is the thing; in order to update your Facebook status, I would recommend you to create a Slack channel first for this purpose only. Let’s say you’ve created a channel, then select the trigger as “New Message Posted to Channel” and hit the “Save & Continue” button.
Step 4: After that, you can go ahead and connect your Slack account to Zapier. When the account is connected, it will ask you to choose a channel from which you want to update Facebook status. So, select the channel from the drop-down list which you have created for this purpose only. As an example, I have created a channel named “ilfschannel” for updating my Facebook status via Slack.
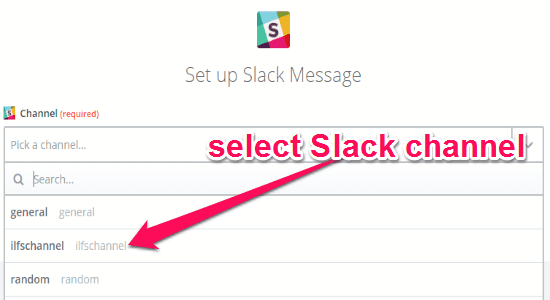
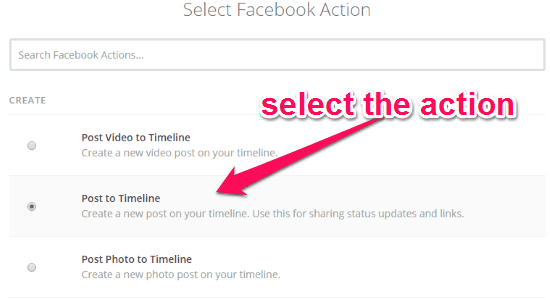
Step 5: Once you’ve selected a channel, it will proceed to the “Action” section where you need to select the action app first. Scroll down or type Facebook in the search bar to select it as an action app. After selecting Facebook, it will ask you to select a Facebook action among these 3 actions: Post Video to Timeline, Post to Timeline, and Post Photo to Timeline. If you want to simply update your Facebook status, then select the action as “Post to Timeline”.
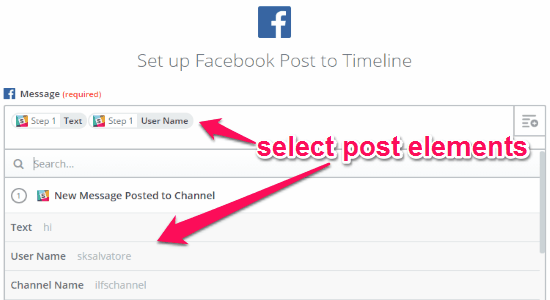
Step 6: When you’re done selecting the action, it will ask you to define the elements which you want to include in the Facebook status update. For this, click the “+” icon associated with the “Message” field and choose between elements like Text, User Name, Channel Name, Timestamp, etc. After that, click the “Continue” button and click on the “ON/OFF” button at the top to enable this automated task. Now, each time you post anything on the assigned Slack channel will be updated automatically on your Facebook status.
My Final Verdict:
If you want to update your Facebook status directly from Slack without posting manually on your Facebook timeline, then go through the simple steps mentioned in this tutorial. Zapier is a good tool, which makes updating Facebook status from Slack a cakewalk. Go ahead and try it.