Here, you will read about how to create screenshots of movies to save selected frames. You can use the desktop app named MoviePrint. It creates several screenshots in thumbnails. The interesting feature about this tool is that you can customize the screenshots. There are options such as layout, preview, margin, show header, rounded corners, output path, output format, output size, and save options. You can change the view of thumbnail using these features.
The tool lets you save screenshots individually or you can save them all quickly. There are other features which you can access. You can choose a particular section, expand one scene, drag and drop the thumbnail to move, etc. It is a great way to automatically create screenshots and customize it.
I have also covered an article where you want to add effects in YouTube videos.

Create Screenshots of Movies to Save Selected Frames
The very first thing you need to do is to download the app named MoviePrint. It is a free online tool that is available for Windows and MAC.
Here, I’m writing this blog for Windows only. MoviePrint has come up with multiple good features such as customize grids, insert and move thumbs, batch create, select frames, set in and out points, save thumbs, shot detections, timeline view, embed movie print data.
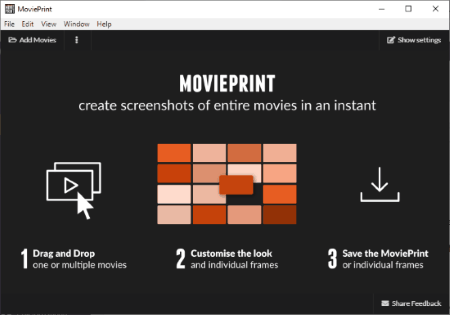
After downloading it when you open the app, you will see the interface as I have shown above. On the top left, there is an option title Add Movies. You can click on that in order to browse a video from your computer. You can click on the three vertical dots to import movies in PNG and JSON.
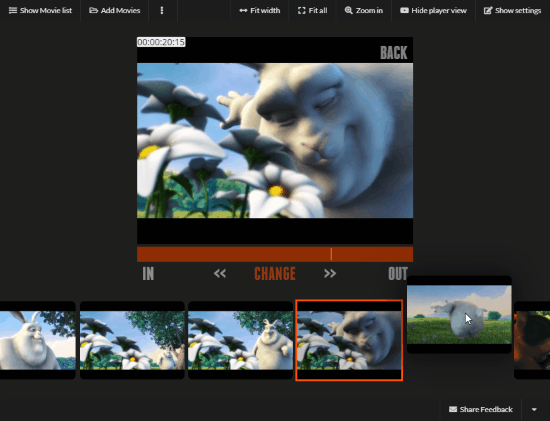
When you add a video, it creates several screenshots of that same video. On the right, you will see a few options such as fit width, zoom in, show player view, and show settings. Clicking on the fit width enlarges the screenshots. If you click on show player view, you can insert and move thumbs on the place of another thumbnail.

When you hover the mouse on a thumbnail, you will see the options like expand, save, in and out. The expand option extends each scene properly. Going for in and out option helps you to hide the other section.
To set custom grids and frames, you can click on the show settings. It displays different features such as columns, rows, and enable/unable count. You can use the slider to customize the look of grids vertically and horizontally.
Other features such as layout, preview, margin, show header, rounded corners, output path, output format, output size, and save options. There are other experimental options like import options, detection chart, maximum size cached frames.
When you preview the thumbnails, you can change the layout AO-A5 Landscape, portrait, letter landscape and portrait, Legal landscape and portrait, Tabloid landscape and portrait, and square. Once you click on any layout, you can preview it on the left. Also, you can use the slider to adjust the grids in rows and columns.
You can show the header on the top of the screenshots. Also, show/hide file path, details, timeline, rounded corners, hidden thumbs, frames, timecode, etc.
If you want to save a single screenshot then you can click on the screenshot and save it. You can save all the screenshots just by clicking on Save MoviePrint.
In brief
MoviePrint is a great app to create screenshots quickly. You can simply upload a movie then this tool separates scenes in multiple thumbnails. Then, you can save screenshots individually or save all. Also, you can customize the look, i.e., custom grid, frames, margins, use a specific section of the movie, and many more.