Mosaizer Pro is a very simple to use mosaic photo maker for Windows. With it, you can open up your images, adjust mosaic settings, how you want mosaic to look like and in just a few mouse clicks create amazing looking mosaic effects on your photos.
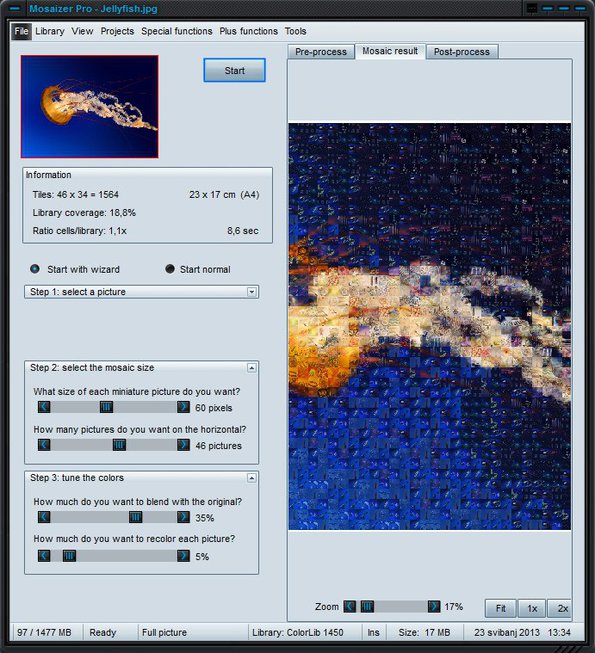
Everything that you need for creating a mosaic effect from your photos is available from the left sidebar. There you will find three step wizard which allows you to change basic settings of the mosaic that you’re creating, before clicking on the Start button to actually start applying the effect.
Using the menu in the top left corner, it’s possible to replace the wizard with more advanced options, which give you even more control over how the mosaic will look like.
Key features of Mosaizer Pro free mosaic photo maker are:
- Easy to use – with wizard you an create mosaic very quickly and easily
- Cutter – allows you to select and crop only a section of the image
- Printing – created mosaics can be printed directly from the app
- Advanced options – edit quality, amount, cell size, patterns
- Frames – add rectangle, flowers, hexagon, circle and more
- Effects – add acrylic, airbrush, chalk, oil, watercolor, etc. effects
- Good format support – supports BMP, JPG, JPEG, PNG image formats
Mosaic effect is a great way how you can add a bit of style and zest to your photos. It’s great for example for your Facebook album, to change your photos, make them different, so that others perhaps find them more interesting. Normally you would need to use programs like Inkscape, GIMP or Pain.NET to achieve this type of effect, but now with Mosaizer Pro, things are much more easier.
How to create a mosaic effect on photos with Mosaizer Pro free mosaic photo creator
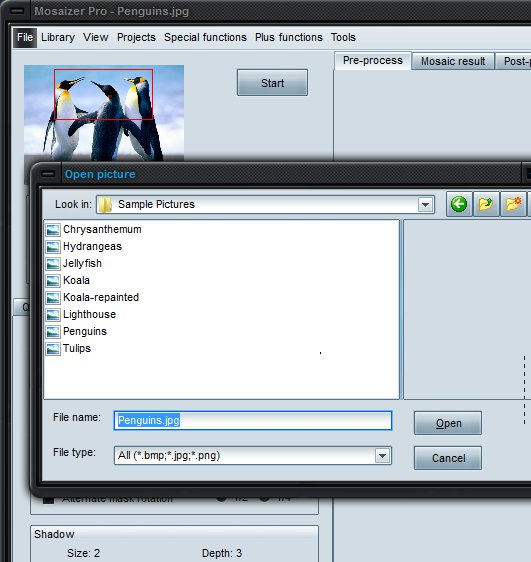
First thing that you need to do is select File >> New to load up the image where you’d like to apply the mosaic effect, the one that you’d like to convert to mosaic.
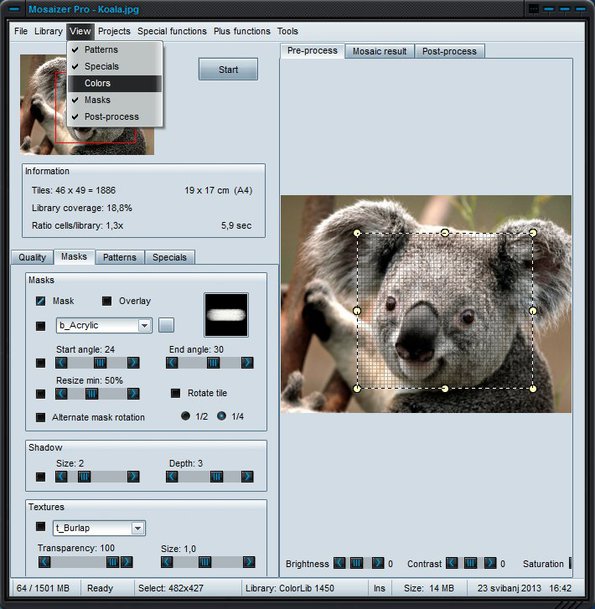
Next in case that you’re not interested in only tweaking the settings that the wizard has to offer, you’re gonna have to click on View and put additional check marks next the options that you’d like to use. They are gonna appear in the bottom of the sidebar on the left as tabs. Only a section of the image on the right can be selected by holding down left click and making a selection.
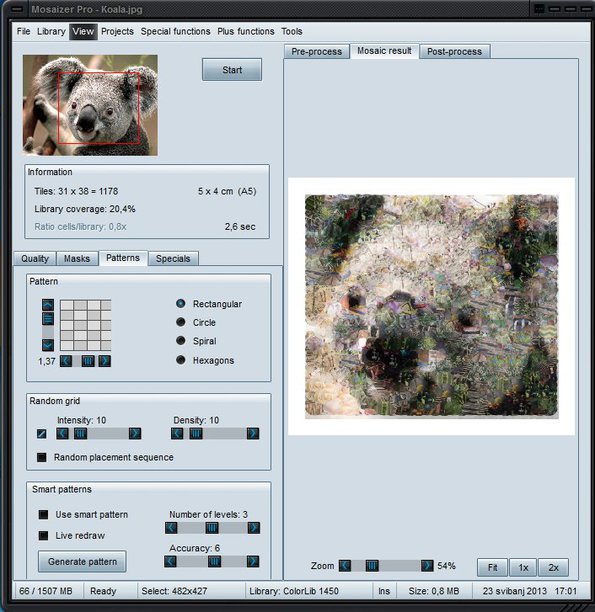
You can control the size of the pattern used for the mosaic, it’s shape, add all the effects that we mentioned in the feature list and more. Completed mosaic photo can be seen on the right. When you’re done, click on File >> Save mosaic.
Conclusion
Mosaizer Pro makes it very easy to create mosaics and add mosaic effect to your photos. It’s highly customizable, easy to use, if you don’t want all the advanced settings you can just stick to the simple wizard and leave it at that. Give it a try and see how it goes.


