Here is a tutorial to explain how to create animated GIFs from photos on iPhone. The animated GIFs are one of the coolest and unique way of sharing different moments with your friends and loved ones. You can get cool animated GIFs from different sources but how will you feel if I tell you that you can also create animated GIFs from your personal photos. Doesn’t it sound exciting and great? If your answer is yes, then this tutorial is for you. Keep on reading to find out how to create animated GIFs from photos on iPhone.
For following this tutorial, you are required to have GiFmojo app installed on your iPhone. The app can be downloaded by using the link given at the end of this review or by simply searching for it on iTunes Apple Store. When you have installed the app, proceed to below mentioned steps to create animated GIFs from photos on iPhone.
Steps to Create Animated GIFs from Photos on iPhone:
- Launch GiFmojo app on your iPhone.
- On launching the app, it will scan your iPhone for photos automatically. After completion of scanning, the app groups them and makes really amazing GIFs from them. After the creation of GIFs, they will appear on home screen of the app as shown below. Though the app does not say the criteria of grouping the photos together, what I noticed was, that the app groups like photos (by “like photos” I mean similar photos from the same day or same event) together and forms a nice gif.

- You can also edit GIFs by selecting which photos you want to include along with option for setting animation speed.
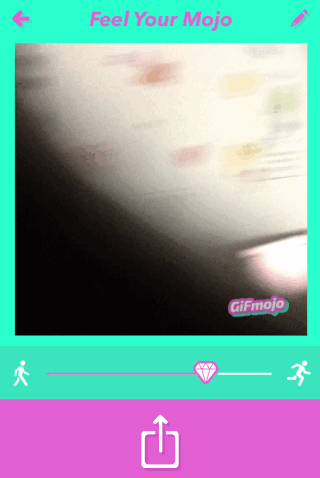
- Tap on the GIF you want to edit. You will get the editing interface as shown in screenshot below. The option for setting animation speed is at bottom. You have to move the diamond icon to adjust the animation speed. You can check the changes taking effect in real time.

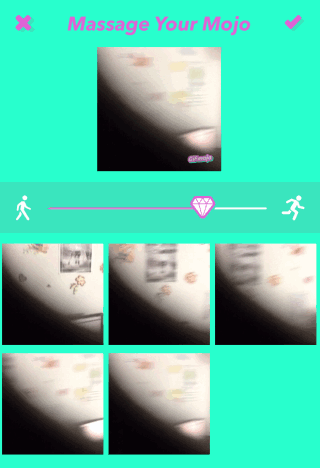
- If you want to select photos, then tap on pencil icon at top right corner to get interface as shown below. From here, tap on photos which you don’t want to see in animated GIF and tap on tick mark option. You can also select animation speed here.

- After editing the GIF, its time to save/share it. The option for the same is present at bottom of editing screen. Tap on it to get sharing options: iMessage, Instagram, email, and Save. You can choose to save it as GIF or Video.

This way, you can create as many animated GIFs as you want using this app. The animated GIFs made by using this app are really awesome and you will surely love them. If you face any problem in following the steps, then you can ask me about it in comments below.
You may also like: iPad Camera App To Make Animated GIFs Using Camera.