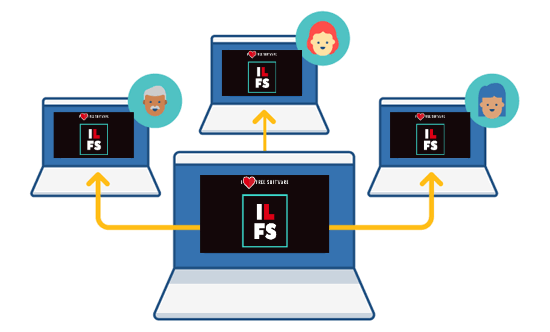
SharedScreen is a free screen sharing service that doesn’t require any download for viewers. It actually comes with a lightweight desktop client which you would need to install on the host PC. After that, you can easily start a screen sharing session and then share the session URL with the viewers. The viewers can simply open up the URL and join the screen sharing session. Unlike other screen sharing software, after you share your screen using this service, the viewers can see your screen activities directly on a browser and without downloading anything.
The best part about this service is that you can invite as many viewers as you want to join your screen sharing session. Unfortunately, it doesn’t offer any option using which the viewers can interact with the screen and can only see the activities which you perform on your PC.
Note: This service is completely free to use. But, in order to use password protection and remove the watermark, you would need to make a donation to the service.
How to Share Screen of your PC using SharedScreen:
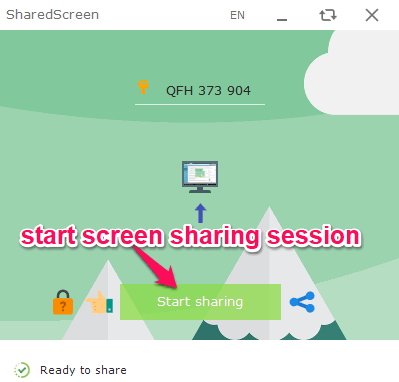
To get started, simply visit the homepage of SharedScreen and download the desktop client on the host PC. After that, you need to install and open it up. When you do that, a popup window will appear on which you can click on the “Start Sharing” button to start a new screen sharing session.
After the session starts, simply click on the “Share” icon at the bottom and you will see two different URL options named, Shortened URL and Manual URL. If you select the “Shortened URL” option, then it will copy a URL to the clipboard which you can share with the viewers. The viewers can use the URL to directly join the screen sharing session.
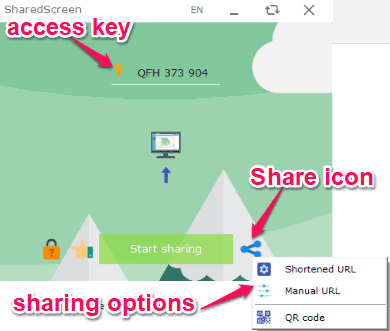
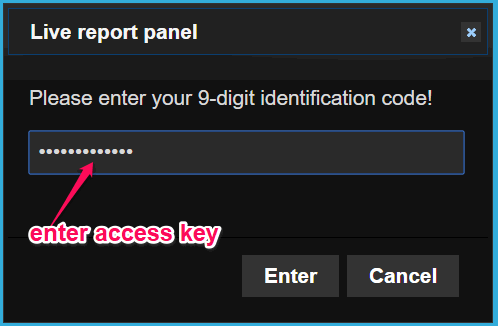
But, if you select the “Manual URL” option then a URL will be generated which can only be accessed by the viewers after entering an access key. The access key will be visible at the top of the SharedScreen window which you can copy and share with the viewers. After the viewers open the URL generated using “Manual URL”, they will be asked to enter the access key, as shown below.
In addition to that, you can also generate a QR code and share it with others to join the session. For this, you can click on the “QR Code” option which appears when you click on the “Share” icon.

So, these are the three options which you can use to let the viewers join the screen sharing session and see your screen activities. Whatever you do on the host PC, will automatically reflect on the viewer’s side. At the top of the screen, there will be a small watermark which you can remove by making a small donation to the service.
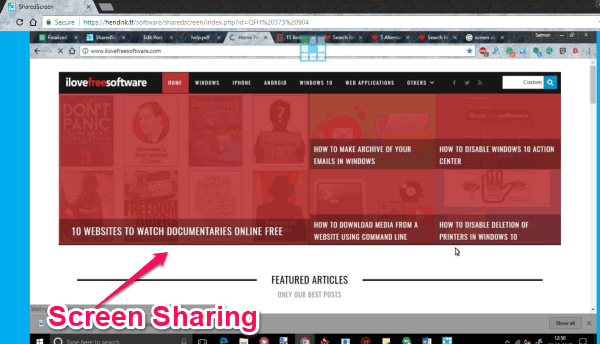
The viewers can see your screen activities in real-time if they have a decent Internet connectivity, or else there will be a little lag. But, do not worry as it also has an option to change the screen sharing quality such that the viewers with slow connectivity can also see your screen with ease.
Closing Words:
SharedScreen is a very simple yet effective screen sharing service which makes sharing screen much easier for you and your viewers. Personally, I like it as you can invite unlimited viewers, sharing URL to let viewers join the sessions, etc. But, it would have been better if it allows you to interact, annotate, or chat with the viewers.