Most of the web services nowadays offer Two Step Authentication. They have different procedures to activate and use two step authentication. In this article, I have tried to collect all such web services that I have come across and explain how to enable two step authentication on each. I will keep updating this article down the line as more such services become available. If you are aware of any such service, which I have missed out here, do let me know in comments at end of this article.
Below I’ve reviewed Two Step Authentication for various popular web services like: Hotmail, Gmail, Dropbox, LassPass, LinkedIn, Yahoo! Mail, Box, WordPress, Twitter, Evernote, Dreamhost, and Buffer.
Two Step Authentication (or verification) in Hotmail:

Two Step Authentication in Hotmail provides double security to Hotmail users so as to avoid unauthorized access of your Hotmail account. It provides you 3 verification methods, namely: using an alternative email address, a phone number, and with the help of a mobile app/ Authenticator App. All you need to do is, simply login your Hotmail account and click on gear icon present at top right side, then go to More mail Settings, then select “Account details” option located under “Managing Your Account” then click on the “Security Info” option to set up two-step verification. Then choose the desired option to from the three (an alternative email address, a phone number, and with the help of a mobile app (like Google Authenticator App), so as to receive the security codes. After activating the two-step verification, you need to enter a security code along with the password to access your Hotmail account. Authenticator App option can be used only when the barcode of the app is scanned in order to setup with your Hotmail account.
Click here for detailed step by step guide.
Two Step Authentication in Dropbox:
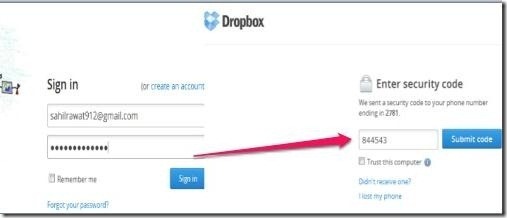 Two Step Authentication in Dropbox comes with two options: text messages or the mobile app. All you have to do is, go to “Settings” then select “Security” option, from there choose “Two-step verification Option” and then click on “Enable” option, to view and access the two-step verification options. Then choose either text messages or mobile app option, and then enter your mobile number or scan the barcode of the mobile app (like Duo Mobile, Google Authenticator etc.), respectively to receive the unique security codes. In addition, it lets you add a device or a computer to the trusted list so that you are not asked to enter the verification code each time our log-in the Dropbox account on that device. Not only that, it generates an emergency backup code on backup mobile number (if provided), which you can use, if required.
Click here for step by step guide.
Two Step Authentication in Gmail:
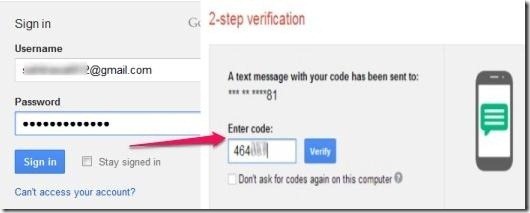
Google provides you two step authentication process. Various options available for two step authentication include SMS, voice calls, and Google Authenticator App. To enable two step authentication, sign in to your Google account, go to “Settings” option, where you choose “Accounts”, then “Other Google Account Settings”, then “Manage Security” option (available at right-side), then select “2 step verification” option. From here, you need to validate your mobile phone and choose how you want to receive 2-step authentication codes: via SMS, voice call, or Google Authenticator app. In addition, it lets you generate backup codes as well that you can use when you don’t have your phone handy. Once you have enabled two-step authentication in Google, you can login to Google account from any app with two step authentication only. In case you use some app that does not supports two step authentication (like, some desktop email clients), you will have to generate app specific password for them, and you can do that as well from the same settings page.
Click here for detailed review.
Two Step Authentication in Yahoo! Mail:
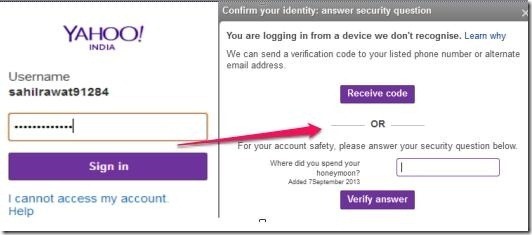 Two Step Authentication in Yahoo! Mail adds extra security to your Yahoo account. Once you have two step authentication enabled on Yahoo, you need to type the code received on your mobile or else you can opt to answer the security question set by you; in addition to your Yahoo password.
To activate and complete second sign-in verification setup, you need to log in to Yahoo! Mail account. Then go to “Inbox”, hit the “gear” icon, and access “Account Info”, soon after selecting this option for security purpose, it asks you to enter the password again. Then click “Set up your second sign-in verification” option provided under “Sign-in and Security” in Account Info page, where you need to provide your mobile number so as to receive codes. After verifying your mobile number by entering the code received on your number the two-step verification set-up gets activated.
Unlike Dropbox, Gmail, and Hotmail, it does not provide mobile app option for two step verification.
Click here for detailed steps.
Two Step Authentication in Box:
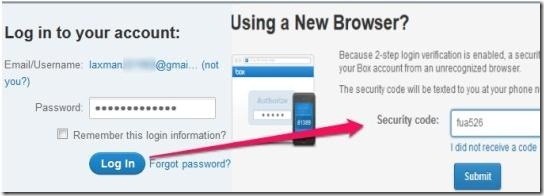
Box.Net is a free online file storage and collaboration tool that also provides two-step authentication option to secure your accounts. Here you need to validate your mobile number as it does not provide you authenticator app option to protect your account.
To protect your account from hackers, you simply need to register your phone number to receive security key. To secure your Box account, simply log in to your account and then hit the ‘gear” icon, and then select “Account settings” option from there. Then click “Security tab” to select check box of the “Login verification” option, then enter your country and a valid phone number. Lastly, verify your phone number by typing in confirmation security code receive as text message on your number and the two step login verification set-up is done.
Click here for detailed steps.
Two Step Authentication in WordPress.com:
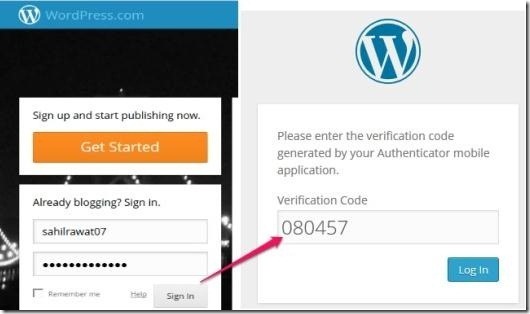 WordPress.com is a free open source blogging service that also provides Two step authentication option. You can either opt SMS options or use Google Authenticator app for Android, Blackberry, and iPhone, to receive security codes.
To enable security, you need to log-in WordPress account and then click “Gravatar/profile picture” to access “Settings” page, where you need to click “Security” option. Then type in your phone number, location, and select the option (SMS option or Authenticator app option), where you wish to receive security codes. Authenticator App option uses Google Authenticator app which can be used only when the barcode of the app is scanned in order to setup with your WordPress account. Then verify your phone number by entering the code. Then soon after this you’ll receive backup codes that you can print and use when you don’t have your phone handy with you. This completes two step verification set-up on WordPress.com.
Click here for detailed steps.
Twitter Two Step Authentication:
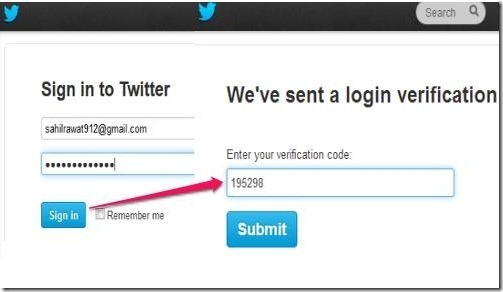 Twitter two step authentication can be easily activated using SMS login verification method, or else you can use login verification for smartphones, such as Android or iPhone, using Twitter app. You receive code on your registered mobile number as text message. If you use login verification for smartphones, it provides you push notification, which you can use to access Twitter account.
To complete the setup of the Twitter two step authentication you need to login your Twitter account and then click on the gear icon to go to the “settings” page were you need to access “Security and Privacy” tab, where you can add your phone number to activate two step authentication so as to receive the security codes. This was all about the Twitter two step authentication using phone number.
Now for Twitter mobile app, you need to login and access “Me” tab where you need to click on then gear icon, in order to access “Settings” and then the “Security” option, where they need to click on their account name and so that you can hit the login verification check box to enable it with least efforts. It also provides you backup codes to access Twitter account. You can save them in case of emergency or if you’ve lost your phone.
Click here for detailed steps.
Two Factor Authentication in DreamHost:
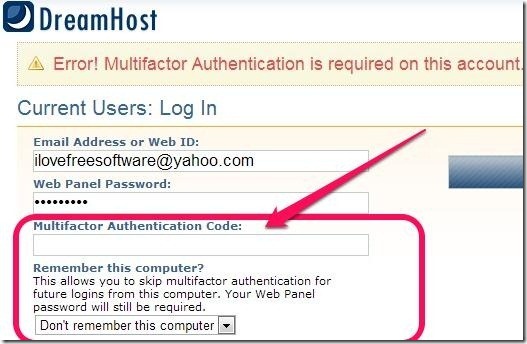 Two factor authentication in DreamHost can be activated via Google Authenticator app to receive Multifactor Authentication code to access you Dreamhost account. It provides two authentication methods namely: Time-Based and Counter-Based, which are based on Google Authenticator app.
To implement the setup of Two factor authentication in DreamHost, you’ll require Google Authenticator app installed on your smartphone. Then login to your Dreamhost account and click on “Billing & Account” option and hit “Security”. Then under the title “Multifactor Authentication” you need to choose any one authentication method after typing in your current password. Then scan a barcode and enter a six digit authentication code and hit “Activate”, and its done!
Like many other web services, this also provide you backup code which you can store safely for emergency in future.
Click here for detailed steps.
Evernote Two Step Verification:
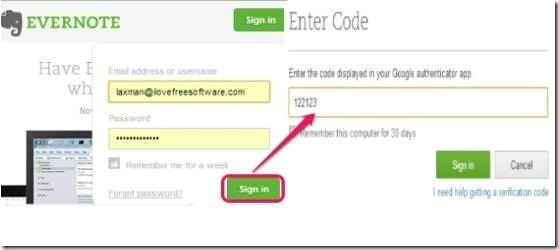 Evernote Two Step Verification is provided for Evernote apps & accounts, to secure your accounts. It requires your phone number and Google Authenticator app to receive verification codes.
To activate Evernote Two Step Verification, login to your Evernote account and click on the drop down menu option located on the top right corner to access “Account Settings” and the click “Security section” and hit “Enable” option to commence Evernote two step verification process. It require a valid email address to receive confirmation code, a phone number where you’ll receive verification code, an optional backup mobile number for emergency, and the phone type (iPhone, Blackberry, or Android ) to download respective Google Authenticator app. Scan the QR code in order to receive the required code, which is to be entered to continue the set up.
You’ll soon receive 4 backup codes from which one is to be entered to complete Evernote two step verification setup successfully, and other backup codes can saved for emergency situations. It also facilitates you to add your computer to the trust list, so that it don’t asks you to enter any security code till next 30 days.
Free account users will receive codes on their mobile devices (iPhone, Android,etc. ) using Google Authenticator app, while premium account holders will receive codes as text messages on their mobile.
Click here for detailed review.
Two Factor Authentication in Buffer:
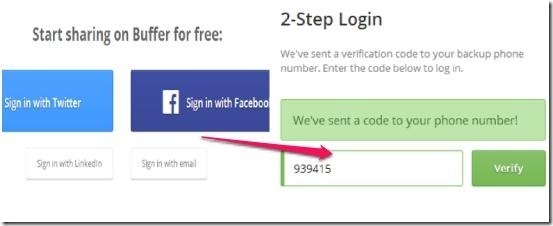 Two factor authentication is offered in Buffer, which is one the most popular social media service that lets you schedule posts for various social networking sites like Twitter, Facebook, and LinkedIn.
Two factor authentication can be done by two methods: SMS verification and Google Authenticator app. To activate Two factor authentication in Buffer, you need to login to your Buffer account and click “My Account” option available at top right corner, then hit “Access & Password” option, where you need to click on “Enable 2-step login” button and select the desired method you wish to opt in order to receive verification codes. For SMS method, you need to select your country and the type in your phone number to get the verification code, to activate the feature so as to receive codes as text messages. While for Google Authenticator App you need scan the QR code and provide the confirmation code and you’re all set for Two factor authentication in Buffer. For both the methods it provides you one time backup code which you can save and use during emergency.
Click here for detailed steps.
LinkedIn Two Factor Authentication:
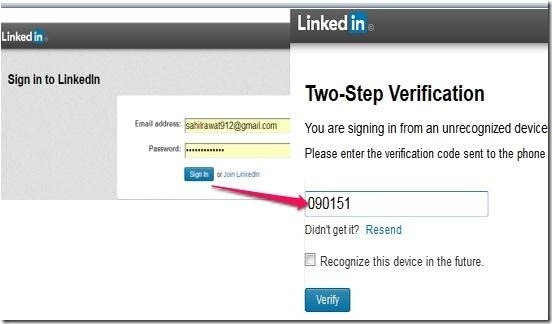 LinkedIn Two factor authentication uses your phone number to provide security codes.
To commence the LinkedIn Two factor authentication setup, you have to login to your LinkedIn account, where you need to place the mouse on your avatar/profile picture so as to access “Privacy & Settings” option. Then on the “Settings” page hit the “Account” tab to select “Manage security settings” option to click “Turn On” so as to provide the country name and the phone number where you wish to receive security codes. Then after verifying your phone number the LinkedIn two factor authentication will get activated on your account. It facilitates you to add a device (PC or mobile phones) to the trust list, so that you don’t have to enter the code again and again.
Click here for detailed steps.
LastPass Two Factor Authentication:
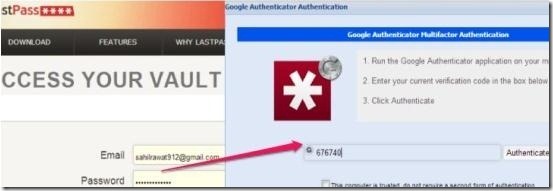 LastPass Two Factor authentication can be enabled by two different methods in LastPass, namely: Grid Multifactor Authentication and Authenticator mobile app.
To activate Grid Multifactor Authentication, you need to login your LastPass account to access “Settings” option, then click “Security” tab to get Grid Multifactor Authentication, where you need to hit on “Print Your Grid” so as to get the codes. Soon after getting the grid, you can click the checkbox and activate the setup. While to enable Authenticator mobile app, you need to install Google Authenticator app and soon after that you need to scan the barcode to receive the code. Then click on the “Enable Google Authenticator Authentication” option and enter the code there to enable LassPas two factor authentication.
Click here for detailed steps.
These were the steps involved in enabling two factor authentication in some of the popular services that provide this feature. With each service, I have also given a link to get detailed steps with screenshots etc. If there is a service out there that provides two step authentication and is not included in this list, do let me know and I will include that as well.
