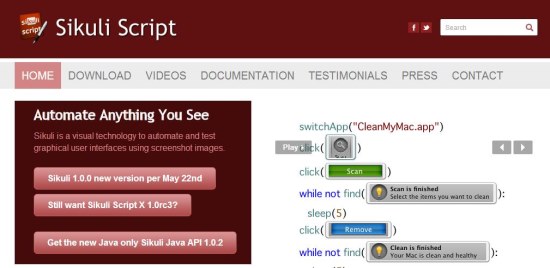
Sikuli Script is a free application that lets you create automation scripts using screenshots. It uses a very simple approach to automate tasks on your PC: taking screenshots of GUI components on screen and using them with commands to create visual automation scripts.
Automation scripts are often considered as a great way to perform repetitive or time consuming tasks. Sikuli Script is a handy script editor that allows you to create automation scripts with the help of screenshots depicting a specific reference point in an instruction. Thus, you can easily automate tasks with the help of Sikuli Script, as long as the targets are visible on screen.
Sikuli Script is an open source project and can be downloaded using the link given at the end of this article. The download will consist of a Sikuli IDE: the main workbench for creating automation scripts. Let’s see how you can use Sikuli Script with the help of an example.
Create Automation Scripts using Sikuli Script:
Scripting in Sikuli is nothing but the correct use of commands and screenshots to form instructions. It provides a set of pre-defined functions that can be used as commands, and allows specifying screenshots as arguments to those functions. For example, to instruct Sikuli to click on the Start button, I can use “click()” function and pass the image of “Start” button as an argument to that function. Now this image can be a saved image on your PC or a freshly taken screenshot.
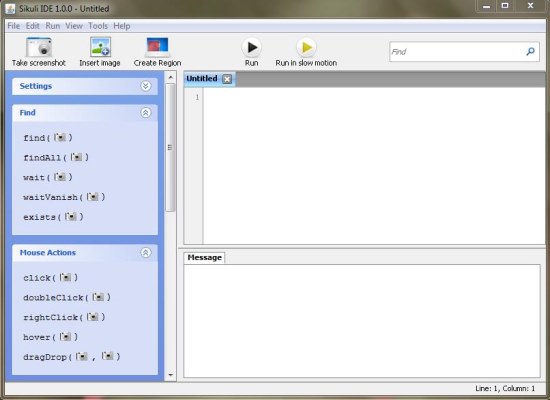
The program window of Sikuli IDE consists of a tool bar on the top, a functions panel on the left, and an editor window on the right. You can choose the desired function from the left panel and then click on the “Take Screenshot” tool to take screenshot of GUI component you want to pass as an argument to that function.
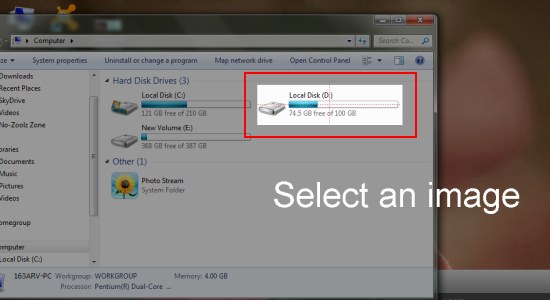
During the capture mode, the whole screen will gray out and pause for a moment, allowing you to select the target region by drawing a rectangle around it. Once this is done, you can save the screenshot as .png file and proceed with testing the command by pressing “Run” button on the toolbar. If this works correctly, you can proceed further and complete the rest of the instruction set for the desired task.
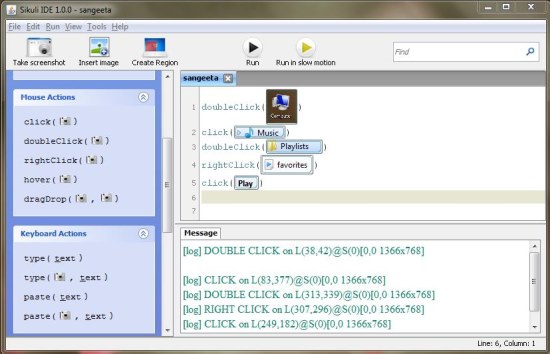
The screenshot listed below displays the script I have made to automatically launch my favorite playlist. To know more on programming with Sikuli Script, you can refer the comprehensive documentation available online.
This is how you can create automation scripts using Sikuli. See how simple is that? Before you go ahead and download Sikuli, have a quick look on its key features.
Key features of Sikuli:
- Free IDE for creating automation scripts.
- Makes it easier to create scripts using commands (pre-built functions) and screenshots.
- Built-in screen capture tool.
- Built on JAVA, and hence compatible with different platforms.
- Online documentation available.
- Easy to use.
- Simple interface.
Also check out free Scintilla based text and source code editor: SciTE.
The Final Verdict:
Sikuli Script is an amazing app to create automation scripts with few mouse clicks. However, as I have mentioned in the beginning, it uses GUI elements to recognize targets, and therefore, it works only with those components which are visible on screen. Moreover, if the screen contains more than one target with similar visual characteristics, Sikuli might get confused, point to a different target, and break the script in between. So be careful while creating instructions in Sikuli.
Download Sikuli Script now, try it out and don’t forget to share your experiences via comments.


