In this article we will be learning how to add your voice or webcam video recording to any type of slideshow using an online tool called Slideator. You can also use it with a set of slides that you may have saved in the PDF format.
Apart from adding voiceover and webcam recordings, you can also draw, highlight or annotate your slides easily. This helps you to synchronize a range of visual media including your computer screen, webcam, whiteboard and more to create highly effective visual presentations that you can share privately or with the general public.
All that you need is a minimal technical knowledge and without spending any additional time, Slideator automates the entire process to create and publish quality videos.
How it Works:
Let’s go through the Steps all the steps for this procedure:
1. Navigate to Slideator by clicking here and register for a free account by specifying your Email address and Password.
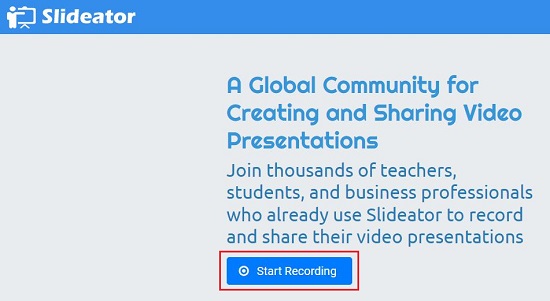
2. Click on ‘Start Recording’ on the home page and this will take you to the Slideator Web Recorder.
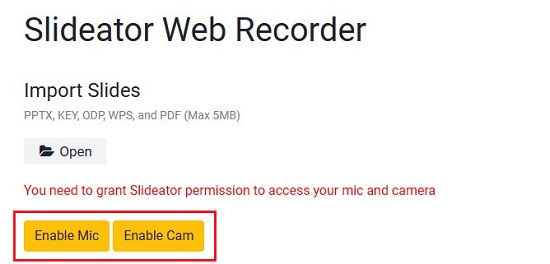
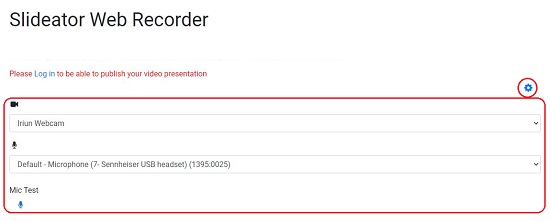
3. Enable your Mic and Webcam if required by clicking on the corresponding buttons. You can click on the ‘Settings’ icon at the top right to choose the webcam and microphone as well as to test the mic.
4. Click on ‘Open’ and upload your slideshow in formats such as PPTX, PDF, WPS etc. Wait for the slideshow to be opened and processed by Slideator.
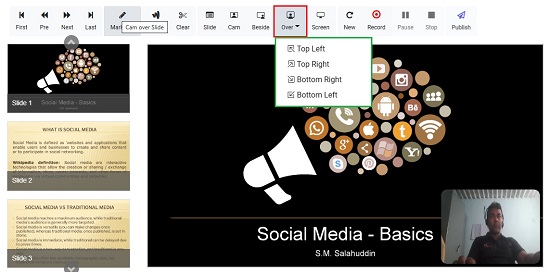
5. If you desire to add your webcam video to the presentation, the first step is to position the webcam window. Click on ‘Beside’ in the toolbar at the top, to position it at the right side of the presentation. Alternatively, click on ‘Over’ in the toolbar to position the webcam over the slide in any one of the four corners. You can also avoid the webcam video and only record using a voice over if you have enabled the microphone as described in the earlier step.
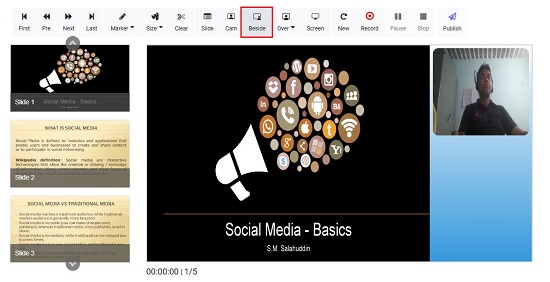
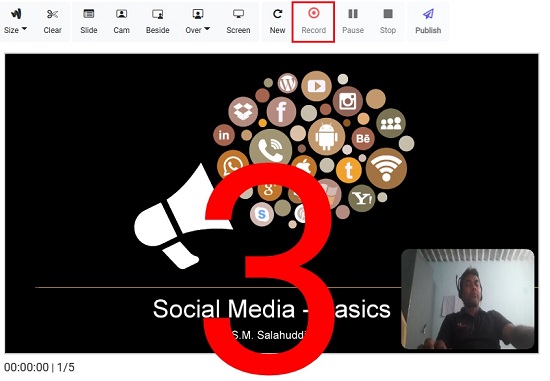
6. Next, to start Recording, click on the ‘Record’ button, wait for the countdown and walkthrough your slideshow as you would normally present. Use the buttons at the left of the toolbar to browse through the various slides as you record your voice.
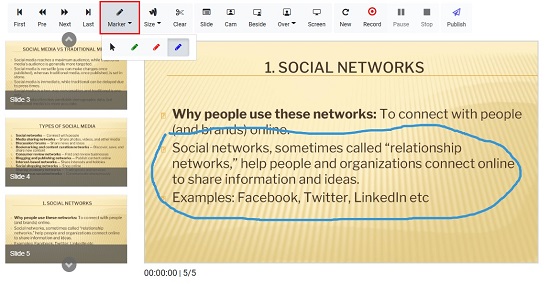
7. To annotate any slide that you are presenting, click on ‘Marker’, select the color and mark the area on the screen where you wish to focus. You can adjust the size of the marker by clicking on ‘Size’ and moving the slider. To remove all the annotations, click on ‘Clear’.
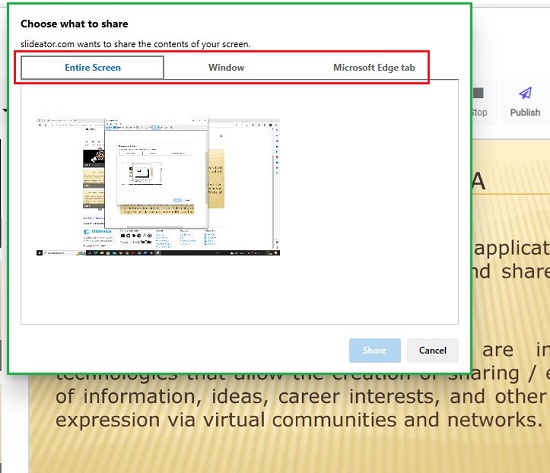
8. To share your screen in the presentation, click on ‘Screen’, choose what you wish to share such as a Chrome tab, Window or the Entire screen and click on ‘Share’. The shared screen will now be visible inside the Presentation.
9. Once you have gone through all the slides and wish to end the recording, click on the ‘Stop’ button. It may take a while for the recording to be processed before the video is made available to you. You can click on the ‘Play’ button to verify the entire recording.
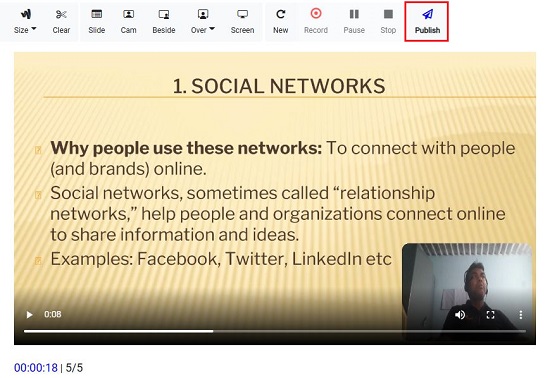
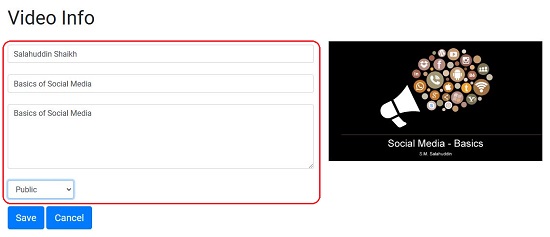
10. When you are satisfied with the results, click on the ‘Publish’ button towards the right of the toolbar. Next, type the name as you would like it to appear, input the Presentation Title and Description, select if you want to share the video presentation Publicly or prefer to keep it Unlisted and finally click on ‘Save’
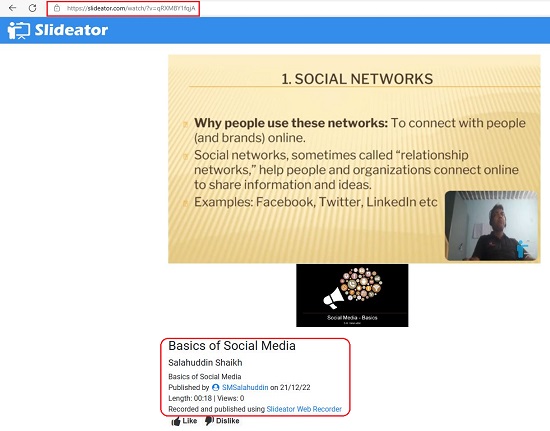
11. Once it is published, you can copy the URL from the address bar of your browser and share it with whomever you like.
Closing Words:
Clearly, Slideator offers an extremely easy way to convert your existing slide shows into short video lessons and has great scope in the field of education, training and more. Powerpoint, Canva and several other tools also achieve similar results but a great thing about Slideator is that it provides the recording and hosting features all in one place without you having to record the video and host it on another site.