Cloud Office AI is a free AI powered application that enables you to create superior-quality and engaging content within a few seconds. You can use Cloud Office AI to create text content (documents) as well as stunning AI images to drive more engagement towards your content.
Cloud Office AI also boast of a number of ready to use templates such as Advertisement, Blog intro, Blog outline, Newsletter and many more, that you can use to streamline your content creation. This feature is only available for paid users.
The working of Cloud Office AI is very simple and straightforward. Your content can be readied in just a minute or so in 3 steps. All that you are required to do is submit a detailed description of your request for the AI content generation by way of a form and get the high-quality result ready to be used anywhere you desire. Let us briefly see how this process works.
Working:
1. Click on this link to navigate to Cloud Office AI and register for a free account. This will take you to the Cloud Office AI Dashboard from where you can create as well as View & Track all the content that you have generated.
2. To create an text content, click on ‘Documents’ in the panel on the left side and then click on the ‘New’ button.
3. Assign a name to the document and describe the content that you wish to generate by typing a few words in the ‘Prompt’ box.
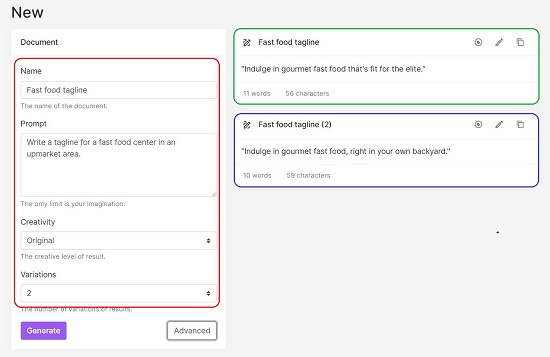
4. You can click on the ‘Advanced’ button to choose the Creativity level Original, Imaginative, Deterministic etc. and the number of variations using the dropdown list.
5. Finally, click on the ‘Generate’ button and wait for some time while Cloud Office AI processes the inputs. The result will be displayed on the right-hand side of the input form.
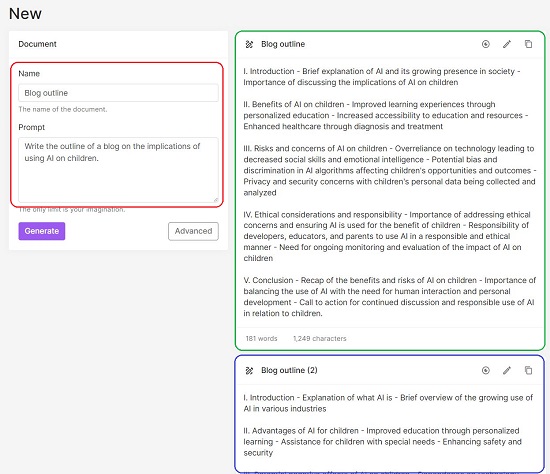
6. You can click on the corresponding icons to the top right of the results box to Copy the content or Edit it in the Cloud Office AI editor.
7. To create an AI image, click on the ‘Images’ link in the left panel and click on the ‘New’ button. The next step will be to fill up the image generation form.
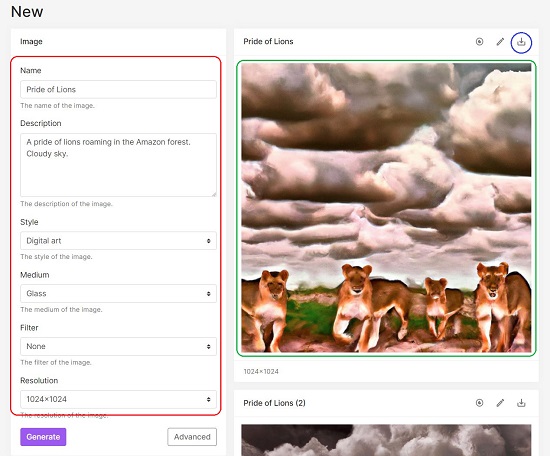
8. Assign a Name to the image and input its description. It is essential to make the description as detailed as possible to give the best results.
9. Next, choose the Style, Medium, Filter and Resolution using the respective dropdowns. By default, the number of image variations is set to 1. You can click on the ‘Advanced’ button and change it to a maximum of 4.
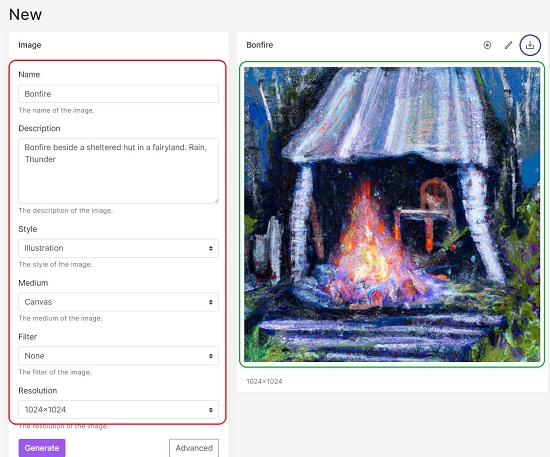
10. Click on the ‘Generate’ button once you are through with all the above steps and wait for some time while Cloud Office AI processes all the inputs.
11. The generated image will be displayed towards the right of the form. You can view the image in its original size by clicking on the ‘View’ icon. Click on the ‘Download’ icon at the top right to save the image in your system in the JPG format.
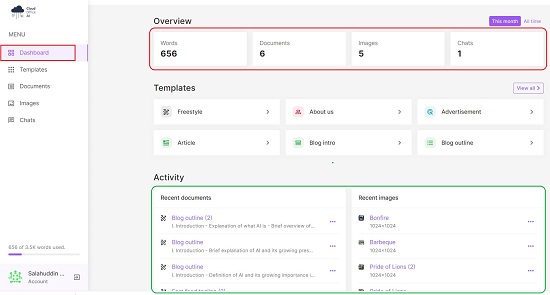
12. You can click on the ‘Dashboard’ link in the panel on the left to navigate to the dashboard and view your recent activity as well as keep track of the number of Words, Documents, and Images that you have generated.
The free version of Cloud Office AI allows you a maximum of 5 images and 50 documents per month with a total of 5000 words. To remove this restriction, you can subscribe to their Premium plans. Click here to learn more about their Pricing models. The ready to use templates to streamline your content generation requirements are also available in the Premium plans.
Closing Comments:
Cloud Office AI is a simple and efficient tool to generate AI based Text as well as Image content under one roof very swiftly and easily. The platform is based on cutting edge AI technologies that revolutionizes the way in which creators can work. Go ahead and try it out. Do let us know what you feel.
Click here to navigate to Cloud Office AI