This tutorial explains how to capture screenshots and upload to FTP server.
upScreen is a handy tool that lets you upload captured screenshot to your own FTP (File Transfer Protocol) server. When you want to remotely access screenshots from anywhere using your own trusted server, this tool comes in handy. You can capture a specific portion of desktop screen, full screen, or specific windows (say taskbar) using this tool. As soon as the screenshot is captured, it will be sent to your FTP server immediately. URL of the Captured screenshot also opens with your default web browser. Moreover, URL also get copied to clipboard, which you can store for later use.
Although there are many advanced screen capture software that provide add annotation features as well, but there are very few software that integrate features of screenshot capture and direct upload to FTP. If you have this need, then upScreen will come handy.
How To Capture Screenshots and Upload To FTP Server?
Steps to capture screenshots and upload to FTP server:
Step 1: Download and install this screen capture tool on your PC. You can get it from the link at the end of this review.
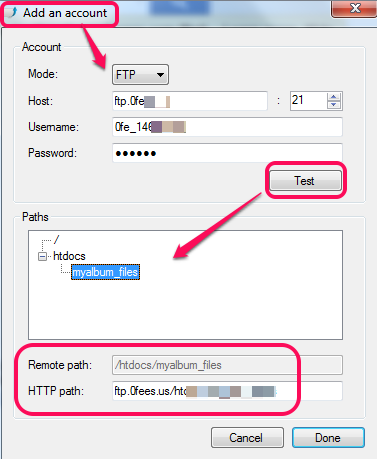
Step 2: When you run this tool, you need to add your account. It requires mode selection (FTP or SFTP), Host address (FTP Server address), your FTP username, and password. You can also set Port number or leave it default (21).
Step 3: Now you need to click on Test button. This will check whether the FTP address is correct or not. If it is correct, your account will be connected. See the above screenshot. Folders present in your FTP server will also be visible to you. You can select any folder to which you want the screenshots to be saved. Save settings using Done button.
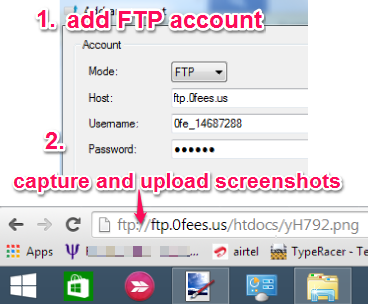
Step 4: As soon you have saved settings, capture mode to capture any particular portion of your desktop screen will be activated. Now simply capture the screen and you’re done. Screenshot will upload to your host and it will also open with your default web browser.
In screenshot above, you could see Windows taskbar captured by me and URL of that screenshot.
Settings:
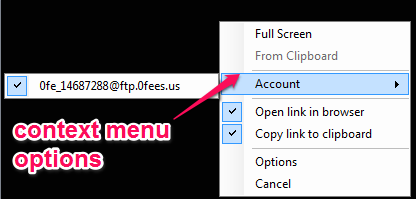
upScreen doesn’t provide any interface on execution. It will simply start a set capture mode to simply capture and upload screenshot. But while in capture mode, you can right-click on desktop screen to access options.
Options such as:
- You can change capture mode.
- Enable/disable copy link to clipboard and open link in browser option.
- You can remove present account or can add more accounts. However, only one account can be selected at a time to upload screenshots.
Conclusion:
upScreen is handy as it will let you upload screenshots to your own host. However, only screenshot at a time can be captured. So you need to execute the tool again and again. I wish it should keep running and provide hotkeys to capture screenshot. Also, I wish it gave basic editing options to edit screenshot, before uploading to FTP server.


