Defender Exclusion Tool is a free software for Windows 11 that allows you to bulk exclude files and folders from Windows Defender. It takes a bunch of files from you and then add then to the Defenders exclusion list. You can also remove them quickly from the exclusion list as well. The software is very straightforward and runs in portable mode. Also, not only Windows 11 but you can also use it on Windows 10 as well.
If you want to exclude some applications, files, and folders in Windows 11 Defender then it takes time. You will have to launch the app and go deep into the scanning settings to create exclusions. But if you use this simple tool, Defender Exclusion Tool, then it will only a couple of seconds. Just open this software and add all your files and folders to the exclusion list in one go. If you often have to change the exclusions in Defender, then this is the tool for you.
How to Bulk Exclude Files and Folders from Windows 11 Defender?
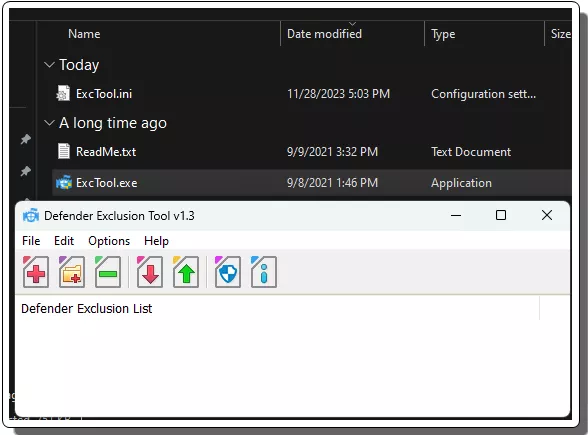
Just download this software from this page. After that, you extract the ZIP file and then start using it right away. As I have mentioned already that it runs in portable mode, so, just double click on its EXE file and then main interface of the tool will show up. It looks like this.

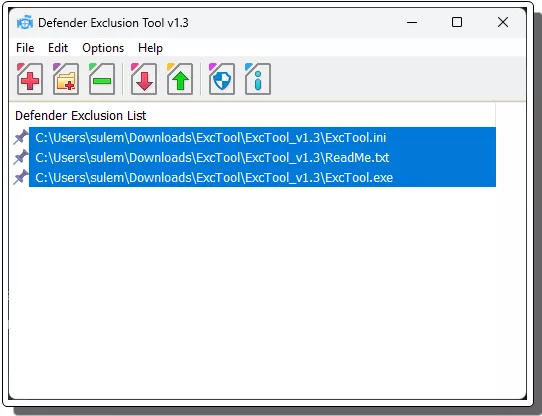
Now, you need to click on the “+” button to create the exclusion list. Just locate the files and folders, select them all, and then add them to the exclusion list in one go. You can add as many files and folders to the list as you want. There is no limit for that.

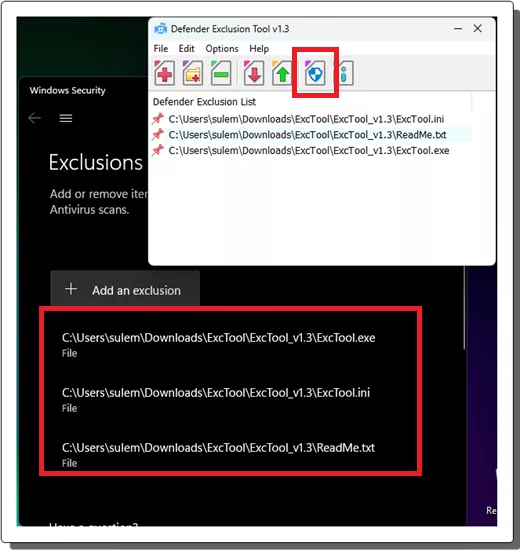
To verify that the exclusion list is working, click on the Defender icon. Defender’s exclusion list will open now. This will help you make sure that the list you have created is working.

In this way, you can use this simple and useful tool to manage the virus scan exclusion list of Windows Defender. In just a few clicks add and remove the applications and files. You can use it in the same way on Windows 10 as well.
Closing thoughts:
If you are looking for an easy and quick way to create exclusion list for Defender, then you are at the right place. Just use the tool I have mentioned here and then make this process smooth and easy. With this, you will not have to open and wander in the nested pages of Defender to find and manage the exclusion list.