ShareX is a very small and a very lightweight screenshot taking software that let’s you take screenshots with different shapes. You can use it to screen capture the entire desktop, application windows, geometrical shapes, free hand areas and many more combinations of the screen. It also supports automatic image, file, and clipboard text uploads to over 25 different file, image, and text hosts (pastebin).
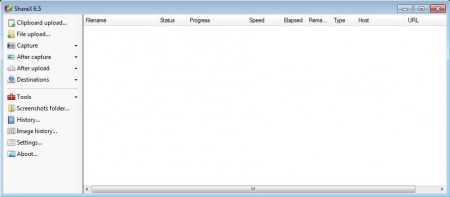
Image above is the default interface of ShareX. The entire left sidebar is reserved for a very intuitive menu, while the rest of the application window is where the screenshots that you take are gonna be listed. Clipboard can also be managed with the help of ShareX.
Key Features of this Screenshot Taking Software:
- Free and very simple to use interface, intuitive menu placement.
- Create and upload automatically screenshots, files, and clipboard text.
- Uploads to imgur, tinypic, imageshack, dropbox, pastebin, paste2 etc.
- Captures fullscreen, windows, rectangle areas, various shapes.
- Quick selection of the last capture type, no matter what it was.
- Assign hotkeys for each one of the actions that are offered.
- Add watermarks, borders, automatic uploads after screenshot is created.
List of features which are offered is quite impressive and what’s even more impressive would be that this free screenshot and clipboard utility is only around 2MB in size. It can of course be minimized to system tray, and once it’s there ShareX only spends around 20MB of RAM.
How to Take Screenshots, Upload Files, and Manage Clipboard with ShareX?
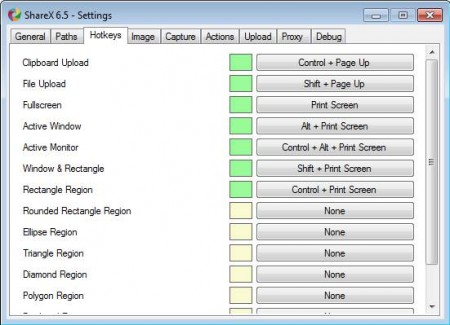
For quick access to screen capture it’s best that you first configure keyboard hotkeys. You can do this by clicking on the Settings and then selecting the hotkeys tab.
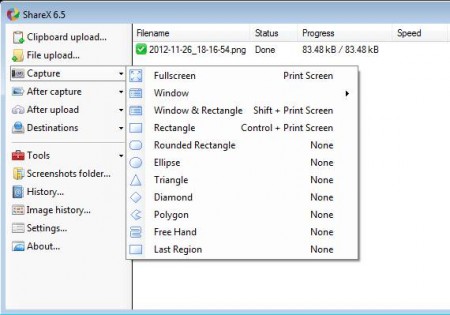
Other settings can be adjusted here, like for example directories where screenshots are saved, proxies, actions, and so on. With the hotkeys in place, you can now create screenshots quickly and easily. The second method of taking screenshots would be selecting the Capture option from the menu on the left.
List of previously mentioned screen capture types will pop-up. Select the one you want, like for example Fullscreen and as soon as the screenshot is made, it’s gonna be uploaded automatically to the selected image host. If you don’t want it to do that, uncheck the Upload to image host option from the After upload menu. Clicking on Destination will allow you to adjust where the content that you create is gonna be uploaded. When it comes to text and file uploads, just copy them to your clipboard and then click on either Clipboard upload or File upload.
Conclusion
ShareX is a versatile utility which you can use for practically all your screenshot, clipboard and file creation/sharing needs. It offers a lot of different features and it’s very simple to use. Small size and low resource usage is also a big plus point. Download and try it absolutely free. You may also try Grabilla, ScreenSnag, and Image To Link.


