This tutorial explains how to force update Windows 10 to Windows 11 on unsupported devices. Windows11Upgrade is a free open-source utility which you can use to do it as it allows you to easily upgrade your Windows as it can bypass Microsoft’s requirements very easily. It lets you perform clean Windows 11 install as well without showing you any errors on any unsupported computer or laptop.
If you see the following message on your Windows 10 update windows page then this software here will help you. If you are disappointed with the fact that your PC is not eligible for Windows 11, then worry no more. Windows11Upgrade tool intelligently downloads the Windows 11 ISO and installs it. You just have to follow a simple installation wizard and that’s all. I have mentioned the rest of the process in the post below.
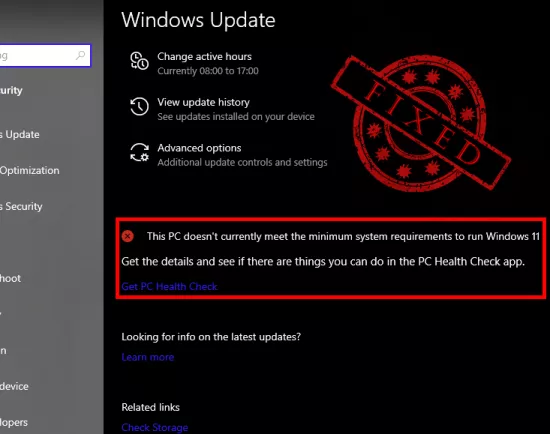
How to Force Update Windows 10 to Windows 11 on Unsupported Devices?
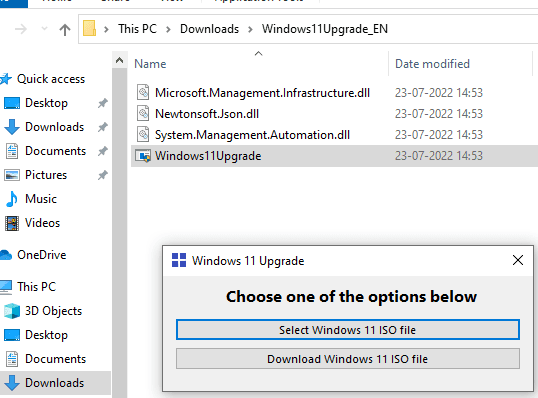
There is nothing extra you have to do in order to make this tool update your Windows 10. Download it from here and then simply launch it. It has a very minimal interface which looks something like this. In the beginning, it asks for the ISO file to use to install Windows 11. Here if you already have an ISO file of Windows then you can use that. Or, you can simply opt to download one.
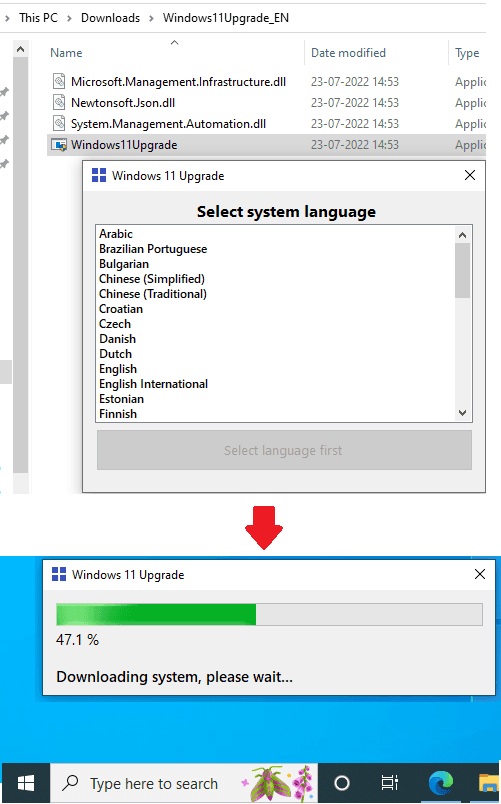
If you choose to download the Windows ISO, then it will ask to specify the language and then will start downloading that and keep showing you the download progress.
After the ISO has been downloaded, the installation process will begin. The software shows you three options to install Windows 11:
- Upgrade: This option I will use in this post. Selecting this will upgrade your Windows from 10 to 11 directly without any data loss.
- Data Only: In this method, the upgrade will happen with data only. The apps will be removed.
- Clean Install: This option will install Windows 11 by cleaning all your data and apps.
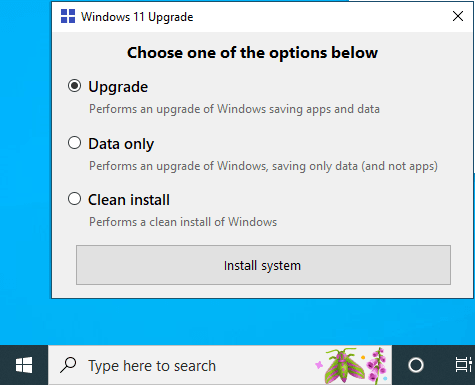
So, select the upgrade mode and then process with start. It will prepare the Windows upgrade installation wizard and the process will begin. The best part is that it will not do any hardware check as it will just proceed with the installation.
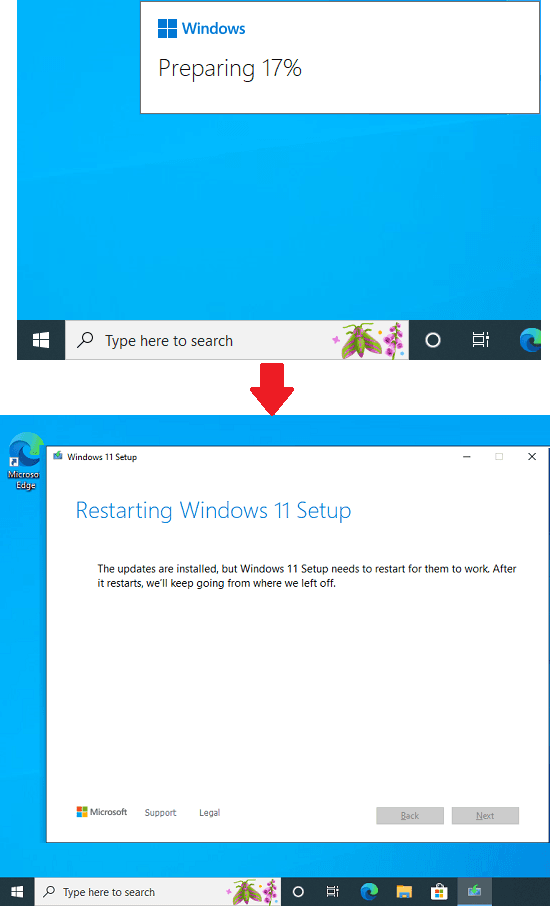
You will now see the following screen for long time. So, just let it be while it is copying Windows files and installing the system.
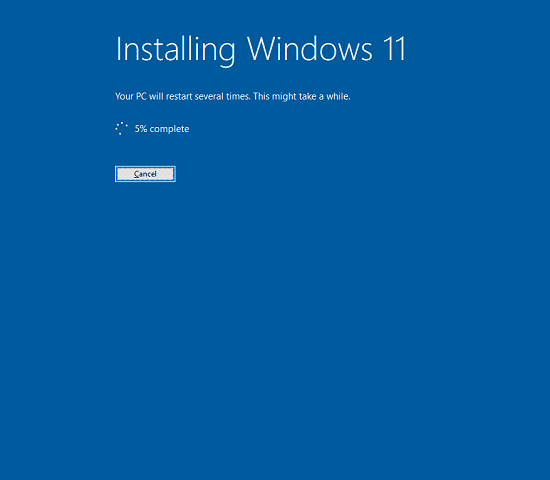
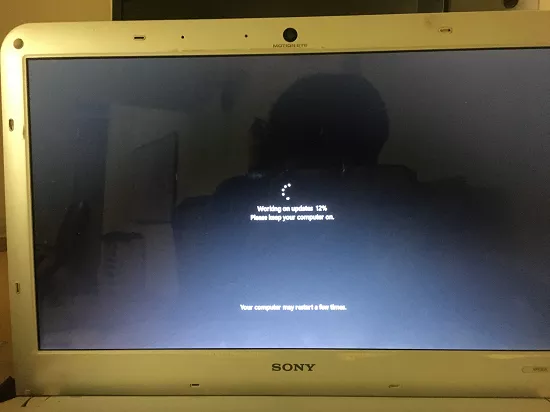
After the progress finishes on the desktop, it will restart your PC and then the actual upgrade progress will begin. It can easily take up to a few hours depending on how much data and apps you have on your PC.
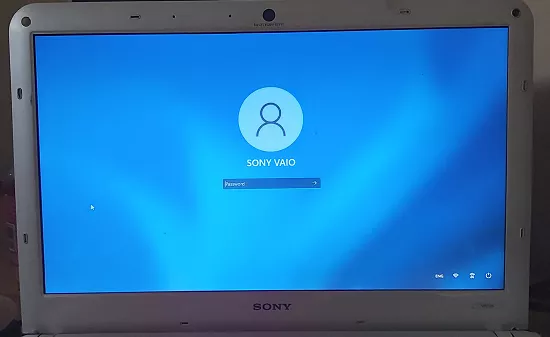
Finally, after the upgrade has finished, you will see the Windows 11 login screen. Log into your account and give it a few seconds to set up the desktop. The desktop will now be shown to you and you can now enjoy your new free upgrade to Windows 11.
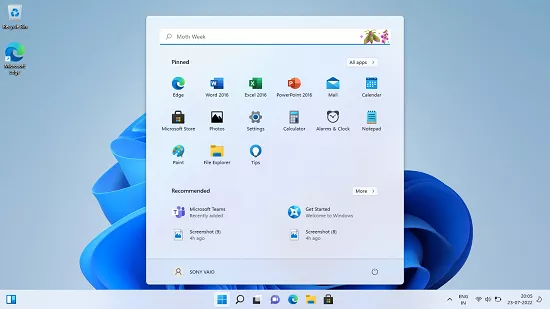
If you follow the above steps carefully, then you will be able to upgrade your Windows 10 system to Windows 11 even on any unsupported device. However, I will recommend you to only upgrade if your PC has at least 8GB of RAM with SSD. Otherwise, Windows 11 will lag so much and the overall experience will not be very good.
Final thoughts:
If you are thinking of upgrading your PC to Windows 11 even when it is showing you the unsupported notice in Windows Update then you will like this software. Just run it nay Windows 10 PC or laptop and upgrade to do hassle free Windows 11 upgrade. What I liked most about this software is that it automatically bypasses the TPM Check and Secure Boot validation. Also, if you want to clean install Windows 11 on your unsupported PC without having to modify Registry keys then this is a good option as well.