This tutorial explains how to edit indexed locations in Windows 10. Efficient searching is one of the most basic capabilities deemed requisite of a modern OS, as there’s no point in having a super fast OS if you can’t find your stuff in time. This is one of the many areas where the latest Windows 10 excels, as it lets you find your files super fast, thanks to its efficient search capabilities.
But did you know that you can make the already powerful search of Windows 10 even better and more efficient? All you have to do is edit the indexed locations. But even before we get to that, you might wonder, “What in the hell are indexed locations?”
I see you’re getting impatient for answers. So without further delay, let’s head over to the other side of the break, and find out what are indexed locations, and how you can edit indexed locations in Windows 10.

What Is Indexing, And Indexed Locations?
Although the detailed working of the way indexing works in Windows 10 is pretty complicated, the basic concept is quite simple. In the most basic of words, Indexing is a process in which Windows builds a locally stored database of the locations of all the important files and folders stored on a computer. This database comes in really handy when searching the computer for a specific file/folder, as the OS just has to query the indexed database, instead of having to search the entire hard-disk all over again.
This itself explains what indexed locations are. Simply put, Indexed locations are the locations that are stored in the indexed database. This essentially means that more the number of locations in the search index, faster and more efficient the file searches in those locations are.
How To Edit Indexed Locations In Windows 10?
That’s the easy part. Basically, Windows 10 includes most system locations (e.g. IE history, Offline files, Start Menu, and User folders) in its search index by default. However, you can add entire hard drive partitions and their sub-folders to the list of indexed locations quite easily. Here’s how to do it:
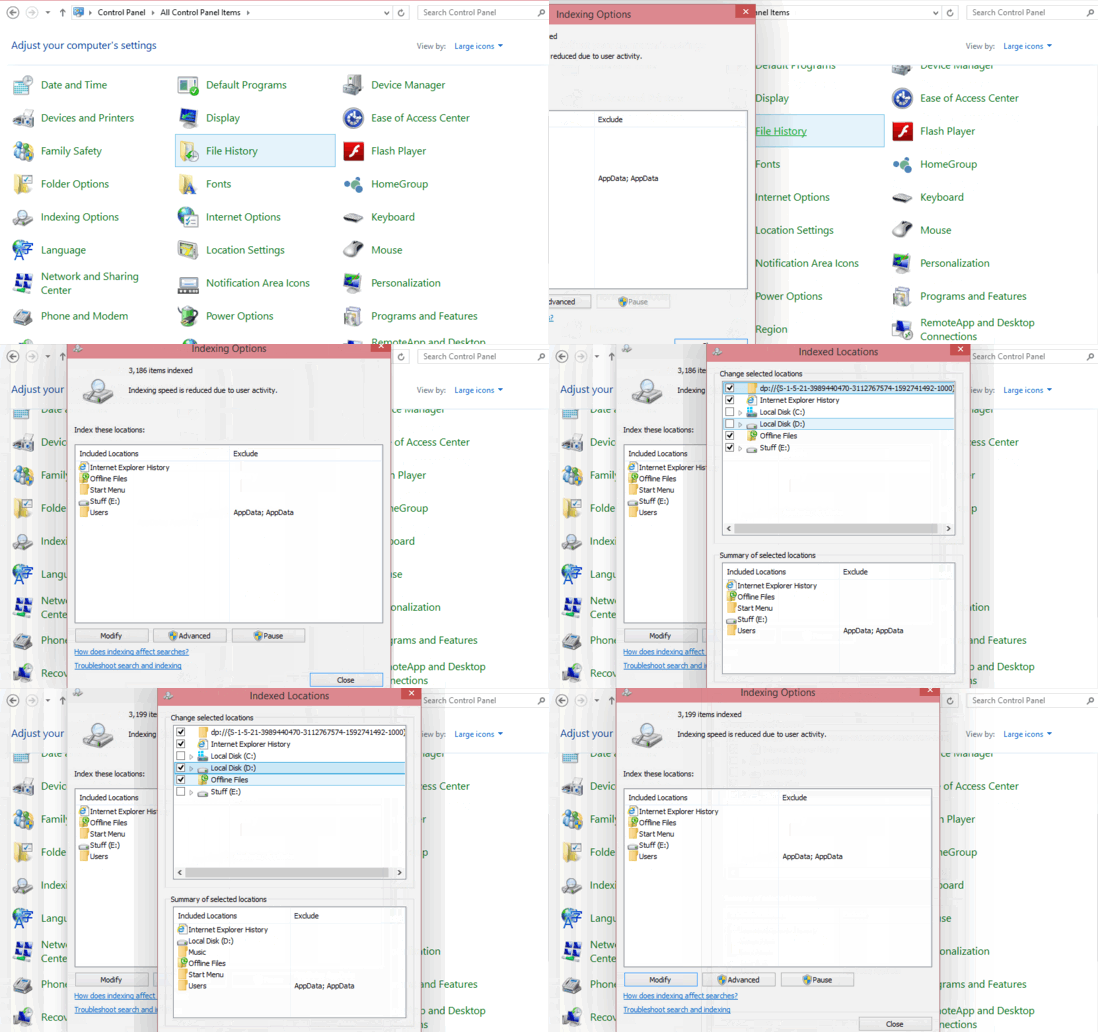
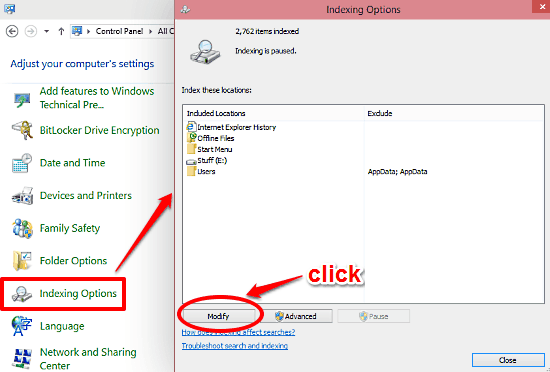
Step 1: Open up the classic Windows Control Panel, and click on the Indexing Options item. Once you do that, the Indexing Options dialog box should pop-up. Click on the Modify button.

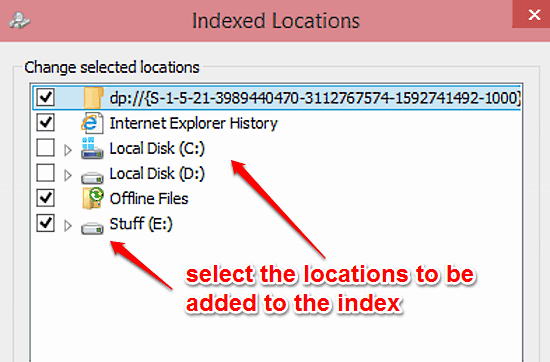
Step 2: Yet another dialog box will now come up. The box shows a listing of all the system locations available for indexing in the top column, with the already indexed locations indicated with a checkmark against them. The bottom column will display a summary of the selected locations. To add a location to the index, simply click the checkmark against it. Click OK.

That’s all there’s to it. Windows 10 will instantly start indexing the files in the newly added location, and rebuild the index accordingly. How cool is that?
Also See: Storage Sense In Windows 10: What Is It, And How To Use It?
Conclusion
Efficient searching is one of the most important capabilities deemed requisite of any Operating System, and Windows 10 certainly doesn’t disappoint on this front. And the fact that you can make its already incredible search capabilities even better by editing the indexed locations, now that’s icing on the cake. Take it for a spin, and let me know what you think in the comments below.