jfVideo Creator is a very simple free video creator, which you can use in order to easily create videos from images, audio, and other video clips. Videos are created by jamming all the required ingredients into a time line, including photo files, video files and audio tracks that you would like to see mixed. Order of each object of the video file that you’re creating can be changed, and when you’re done tweaking everything, simply set the length of the video and you’re done.
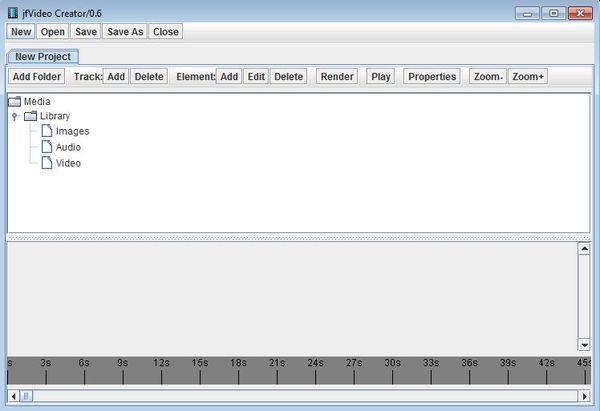
On the image down below you can see the interface of JfVideo. It’s very simplistic, and like you can see each new project that you’re working on is gonna be open as a new tab all the way at the top. Toolbar underneath the tabs is for adding new multimedia files onto the project list down below. New files that you add to the library are gonna be sorted on images, audio, and, video.
Empty space that you see underneath the library manager is reserved for the time line, where you actually create the video by adding to it images, audio, and video; the ones that you’ve imported into the library at the top. Menu in the top left corner can be used to create new projects and to save existing ones.
Key Features of this Free Video Creator are:
- Free and simple to use: easy to follow video setup and exporting
- Timeline editor: create videos using a simplistic timeline editor
- Supports images, videos clips, and audio tracks for video compilations
- All common multimedia formats are supported and can be loaded
- Created videos can be exported as AVI video files or in editable format
- Works with Windows, requires Java runtime environment in order to run
Similar software: Format Factory.
Another thing that’s required by jfVideo are additional codecs, which are gonna be downloaded right away for the first time when you run jfVideo. Make sure that you have an active Internet connection before running this free video creator. Here’s a few pointers to help you get started.
How to create videos with jfVideo: free simplistic video creator
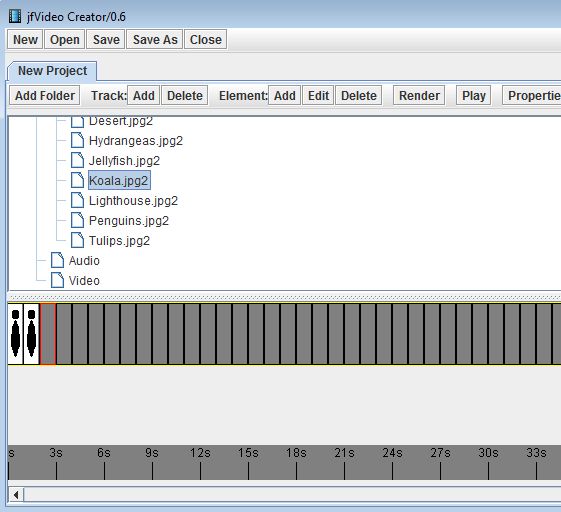
First thing that you need to do in order to start creating videos with jfVideo would be to click on the Add Track button. That’s gonna add a new timeline down below that you can edit.
Once you’d done that, click on the Add Folder button so that multimedia files are added to the library down below. Each new segment is a spot for a new multimedia object. It can be an image, video, or audio. Click the Properties button to adjust the length of the segment.
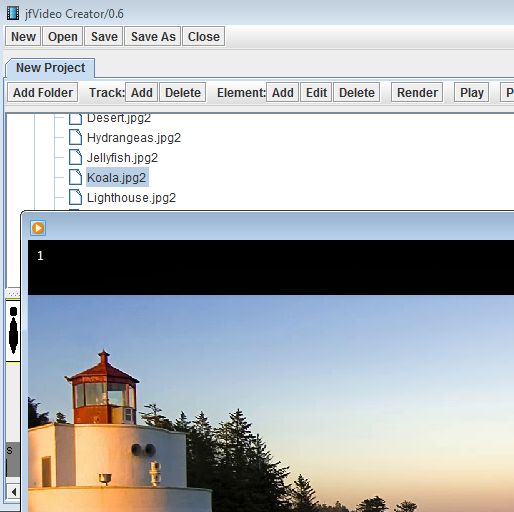
Click on the Save As button will allow you to export the created video to as an AVI file, which you can then view using a video player.
Conclusion
jfVideo is very simple, and even though it might take a few minutes for you to get a handle of things and find out how everything works, everything is actually very easy to understand. If you would like to create video slideshows from your photos even with music, then this is just the tool you need.


