Here is a tutorial on how to add quick sticky notes on Windows 7 desktop.
You might have heard about sticky notes apps, which let you jot down important to-dos and pin them on desktop screen as reminders. But have you ever heard about Windows own Sticky Notes? If yes, did you ever try using them? Today in this tutorial, we are going to cover how you can add quick sticky notes on your Windows 7 desktop using its own Sticky Notes feature. But before that, let me give you a brief introduction of it.
Sticky Notes was introduced in Windows 7 to help users add quick notes on their desktop screen. These are probably the simplest, yet stylish Sticky Notes ever. They look exactly like the real, colorful sticky notes, and can easily be customized to suit user requirements. You can resize or change color of the added notes, create new notes with ease of a click, and even format the text written on the notes. All this is pretty easy and just take few seconds to learn.
Add quick Notes on your Desktop using Windows 7 Sticky Notes:
Creating the First Note:
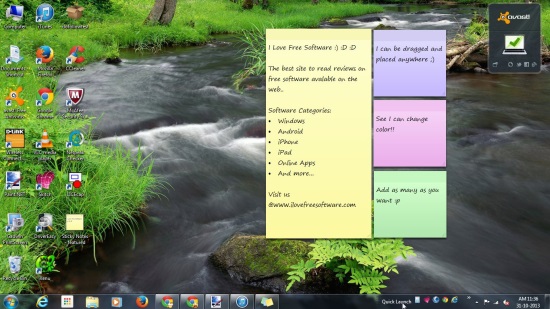
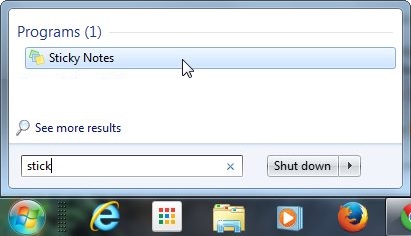
Adding a quick sticky note on your Windows 7 desktop is pretty easy. You just have to click on the Start button and start typing Sticky Notes. As soon as you start typing, you will see Sticky Notes in Programs list. Go ahead and click on it (or press Enter). A note will be added to your desktop screen, which looks pretty much like the one shown in the first screenshot.
Now once you have added the note, you can write important points as a summary, or as precise bullets on it. By default, everything you write would appear as a paragraph. To switch to the Bullet mode, you would have to press Ctrl + Shift + L. There’s no limit to the text that you can add to the notes; Sticky Notes would resize (increase its height) automatically. Or if you want to manually resize the note, you can click and drag the lower-right corner of the note to adjust its size according to your wish.
Customizing Notes:
Besides that, you can also format the text written on your sticky notes by using other associated keyboard shortcuts. For example, you can use Ctrl + B to write text in Bold, Ctrl + I to write in Italics, Ctrl + U to Underline, and Ctrl + T to Stikethrough the written text. Plus this, you can increase or decrease the font size by using Ctrl+Shift+> and Ctrl+Shift+< , respectively.
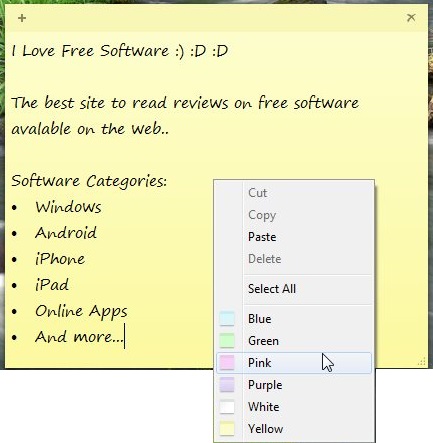
Sticky Notes also allows you to change the color of the notes background if you want. Just right-click anywhere on the note and choose the color of your choice from the available options: Blue, Green, Pink, Purple, White, Yellow.
Adding New Notes:
To add new notes, simply click on the New Note button (having a “+” sign) at the top-left corner of the existing note or press Ctrl + N. Every new note that you add would appear on the left of the previous note. You can add as many notes as you want.
Deleting Notes:
Deleting notes is also very easy. Just click on the Delete Note button (with a “x” mark) at the top-right corner of the existing note, or press Ctrl + D.
Key Features of Windows 7 Sticky Notes:
- Very simple and easy to use Sticky Notes.
- Comes packed with Windows 7 OS.
- Available in 6 different fascinating colors.
- Formatting options.
- Auto-resize feature.
- Can be placed anywhere on the desktop screen; just drag and place the notes anywhere you want.
- Stay opened unless you delete them even after you restart your computer.
The Final Verdict:
Sticky Notes is a must try feature of Windows 7 and once you start using them, you would definitely continue I bet. If you have a habit of pinning important to-dos, there’s no need to search for a third party software; your Windows 7 OS has it all. Give a try and tell us how much you like it.
Also check out how to record screen as a series of Screenshot on Windows 7.


