This tutorial explains how to automatically send Inbox mail and sent mail attachments to Google Drive, Dropbox, Box, or OneDrive.
OneBox (beta) is an online service that helps to automatically send all your Inbox and sent email attachments to your Google Drive account, OneDrive, Box, or Dropbox. It supports Gmail, Yahoo! Mail, Outlook, IMAP, and Exchange accounts. It doesn’t move attachments from emails, rather lets you store those attachments to your cloud service in an organized manner.
It scans your Inbox and sent mails for attachments and fetch last 30 days attachments automatically. You can store attachments to any of your needed cloud storage service.
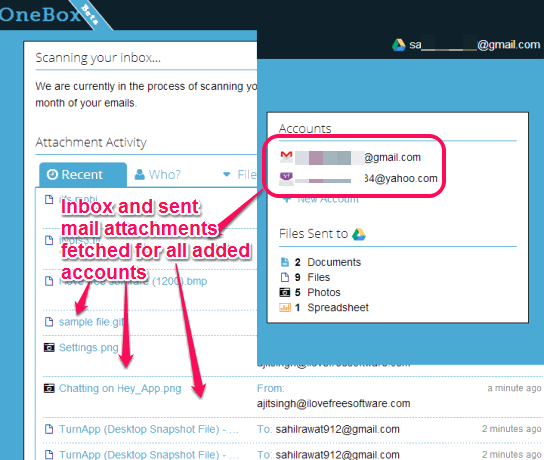
With each of these cloud storage services, you will be able to add multiple accounts which makes it more valuable. For example, with Google Drive, you can connect your Gmail and Yahoo! Mail account. One cloud storage can be used at a time to fetch attachments from multiple accounts.
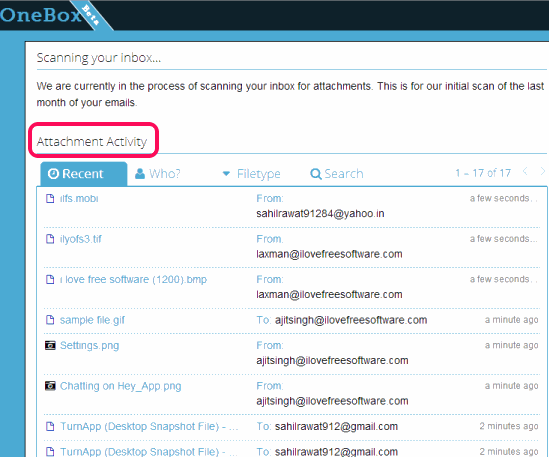
In above screenshot, you can see attachments fetched by this service for two of my connected accounts.
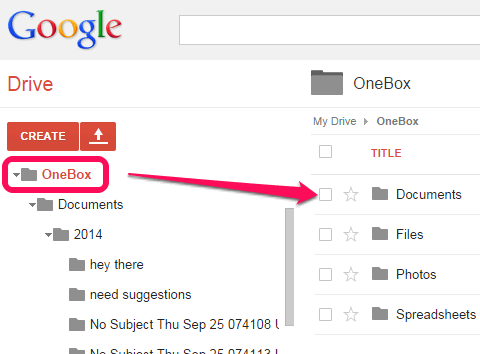
It creates a ‘OneBox‘ folder in your selected cloud storage account and store all fetched attachments there. Whether attachments contain photos, videos, spreadsheets, or anything else, it will store each attachment type in separate folder. Thus, it stores as well as organizes attachments very well. See the screenshot below:
How To Fetch Attachments from Emails and Organize To Required Cloud Storage Service?
Follow these steps and OneBox will help to automatically store and organize attachments stored in your Inbox and sent mails:
Step 1: Use the link given at the end of this tutorial to access its homepage.
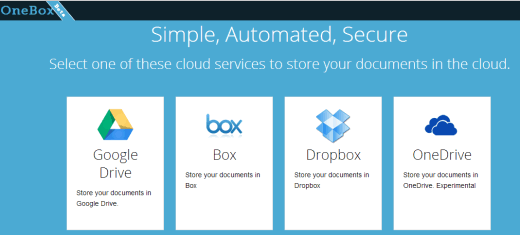
Step 2: On its homepage, click on Login option. After this, you need to select any of the supported cloud storage service. See the screenshot below:
Step 3: Sign in to your preferred cloud storage account and authorize OneBox to access that particular account.
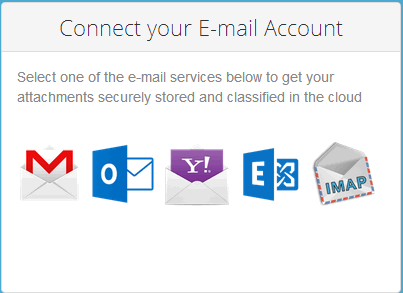
Step 4: After selecting the preferred cloud service, you need to choose a mail account with which you want to connect that particular drive. Yahoo! Mail, Gmail, Outlook, IMAP, and Exchange accounts are supported. Select required account, sign in with that account, and again authorize OneBox to get access to your account.
Step 5: Now all your manual work is completed. After connecting the account with your cloud service account, OneBox will start scanning Inbox and sent mails for attachments. This will take some time as it will scan last 30 days mails. But as soon as it has completed the scanning, results will be in front of you. You need to refresh the webpage to view result.
It will show you all attachments, type of attachment, email address of the person who has sent attachment, etc. Clicking on any attachment will direct you to your cloud service where that particular attachment is stored now.
Some Important Features:
- You can add multiple accounts to store and organize email attachments just by clicking on New account option.
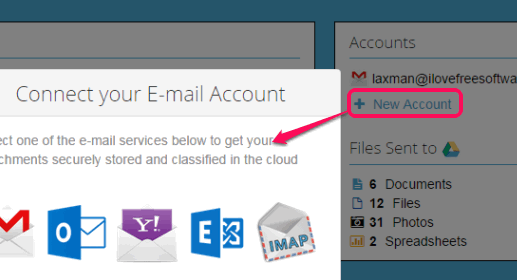
- List of total number of documents, files, spreadsheets, photos, etc. sent to selected cloud service is also visible to you.
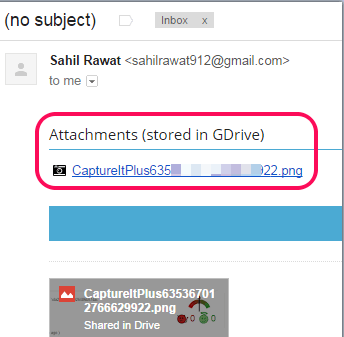
- You can set preference to instead of showing your attachment in email, it can add a link for attachment in email to direct you to stored location.
- Search feature is available to find out a particular attachment with its name or by using keywords.
- You can also sort file types. Moreover, it lets you search attachments by using the email address of a particular person.
Conclusion:
OneBox is interesting to use and worthy as well to store and organize email attachments of different accounts to one single cloud service of your choice. Its beta version worked quite well during my testing, so I can recommend it to you if you too have to organize your email attachments.
