As the most popular and widely used of all the web browsers, Google Chrome has a whole truckload of impressive features. And each one of them contributes in making it better, in its own unique way, whether it’s real-time synchronization with Google Account, or the support for hundreds and thousands of productivity enhancing extensions. Out of these, the extensions are specially important, not only because they extend the functionalities of Google Chrome beyond than those of a regular web browser, but also help in making it unique from user to user.
However, installing/uninstalling these extensions can be pretty tedious, especially if you regularly work on multiple computers. I mean, searching multiple extensions and installing them one by one, or conversely, uninstalling multiple extensions one at a time, isn’t really convenient, don’t you think?
But it doesn’t have to be that way, as Google Chrome easily lets you install/uninstall extensions in a batch. Wanna know how? Let’s fast out how you can batch install and uninstall extensions in Google Chrome.

How To Batch Install And Uninstall Extensions In Google Chrome?
Installing multiple extensions (or conversely, uninstalling multiple extensions) in a batch in Google Chrome is a pretty simple affair. As you probably already know, Google Chrome automatically syncs all of your browser settings, bookmarks, themes etc., to the Google Account that’s used to sign-in to the browser. Well guess what, this synced information also includes the extensions that you’ve added to the browser. So in essence, all you have to do to batch install/uninstall extensions in Google Chrome is to sign-in/sign-out of the Google account that you use with the browser. The following steps explain how to get this done:
1. Batch Install Extensions
In Google Chrome, go to the primary browser settings page (accessible via the Settings option on the main menu, triggered by the hamburger icon). Once there, head to the Sign in sub-section, and click the Sign in to Chrome button. You’ll be redirected to a Google Account sign-in webpage. Enter the account credentials, and hit OK to sign in to Chrome with that account.

Voila. All of the extensions will now be automatically installed to Google Chrome. However, it goes without saying that these need to be already synced with the Google Account used to sign in to Chrome.
2. Batch Uninstall Extensions
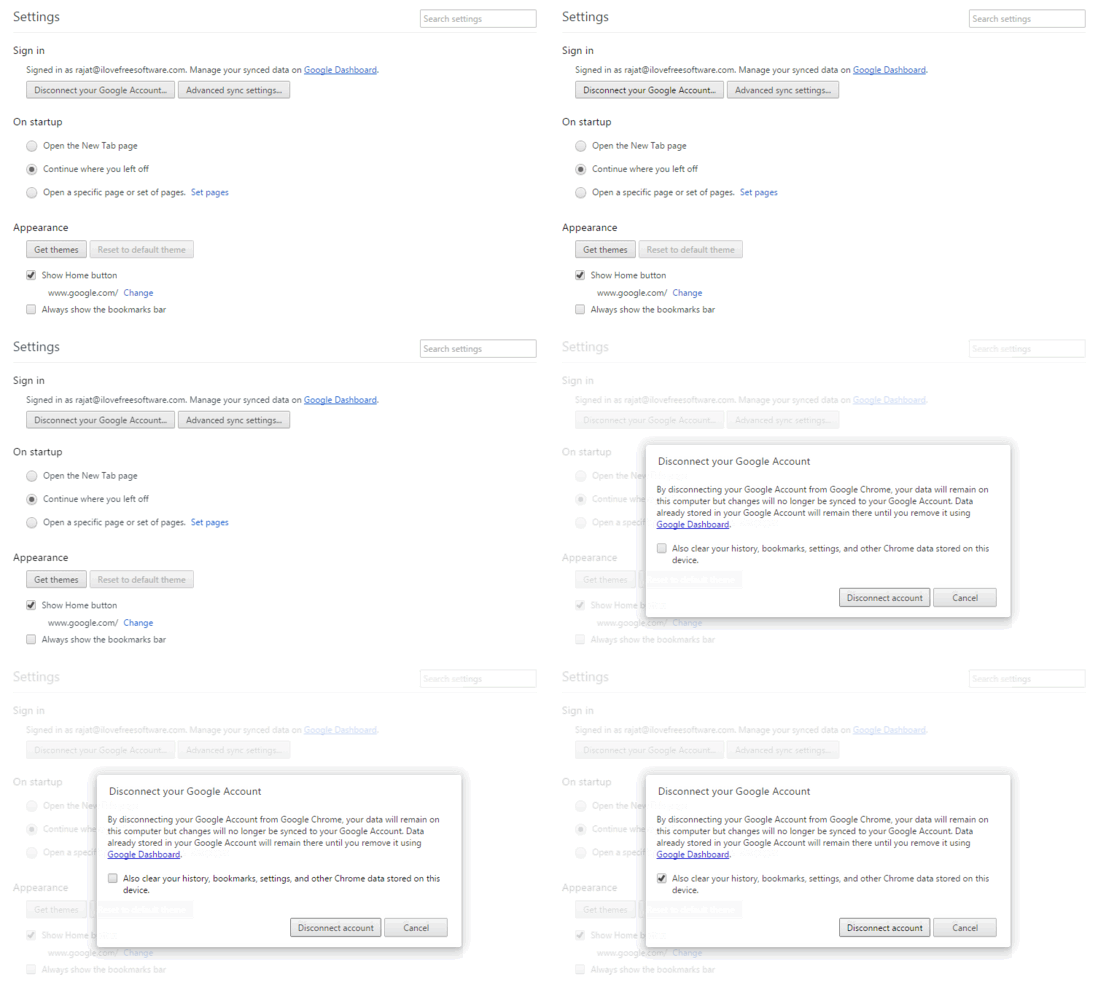
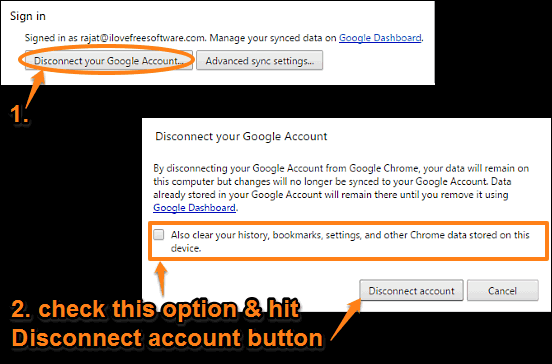
Open up Google Chrome (if it’s not already active), and use the main menu’s Settings option to access the primary browser settings page. Under the Sign in sub-section, click the Disconnect your Google Account button, and a confirmation prompt will come up. Check the option that says Also clear your history, bookmarks, settings and other Chrome data stored on this device, and hit the Disconnect account button (If you don’t do this, the extensions will stay installed, and will be merged with the account that’s used to sign up again). Here’s a screenshot:

That’s it. All of the extensions will now be uninstalled. I’m sure it can’t get any easier than that.
Check Out: How To Set Default Zoom Level In Google Chrome?
Wrap Up
The ability to install and uninstall extensions in a batch in Google Chrome, simply by signing in or signing out of the Google Account that you use with the browser is a simple but pretty useful feature, that makes quick work of managing extensions on multiple devices. Give it a shot, and let me know what you think in the comments below.