Have you ever seen panorama images of skylines where you can see the entire city in a single frame? That kind of photos are not actually made in a single shot, they are several different images pieced together in order to make them look as though they are one big panorama. Piecing together of images is called stitching, and Hugin is a program that can do exactly that, create panoramas and stitch several images into one giant breathtaking panorama.
Hugin is considered by some to be the standard when it comes to photo stitching, in this department it might even be better than the all-powerful Photoshop, and the best part is that it’s free. Stitching together of two or more images is practically automatic, but you’re gonna have to read a tutorial or two in order to get a fair grasp of how Hugin, the panorama creator actually works. There are a lot of options available, and it might be a little bit overwhelming for beginners to mention them all here, so let’s just stick to the basics and you can find out more when you read tutorial which are available over here.
How to make a panorama in Hugin panorama creator and image stitcher
To create a panorama you’re gonna need at least two images, and when you take them with your camera, create an overlap so that every inch of the area that you want to have in the panorama is covered. It would also be great if you used a tripod so that the images are more accurate, but it’s not necessary to do that.
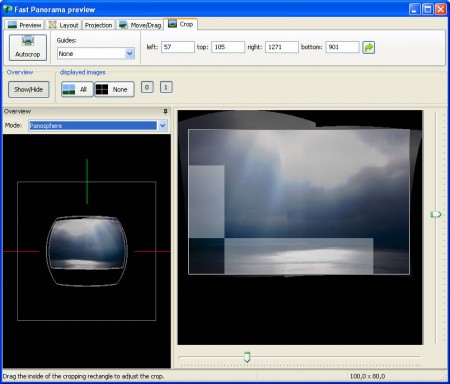
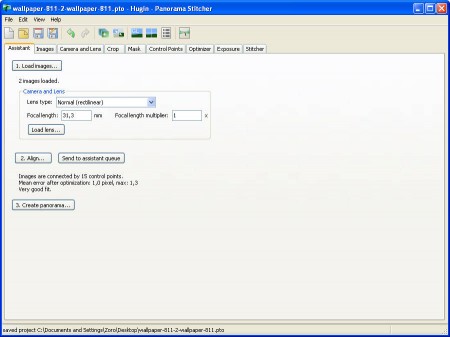
When you have the Assistant tab open load images by clicking on Load images and then click on Align. This will calculate the basic control points and offer you the basic preview of what the panorama will look like.
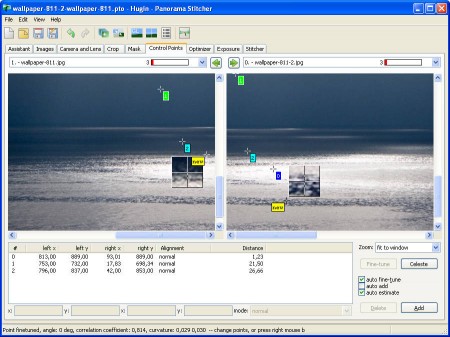
Depending on the difficulty of the image, you’re probably gonna have to create Control Points manually in the Control Points tab. It’s not something overly difficult just select 15 different points on the images where you want them to be stitched, joined together. It doesn’t have to be 15, if the images that you are trying to stitch are rather simple like the one that I’m using below, then just one control point is enough, and program will stitch the images up according to it.
What kind of formats does Hugin panorama stitcher support?
You can open all the popular image formats in Hugin: JPEG, TIFF, PNG
and some less known: HDR and EXR

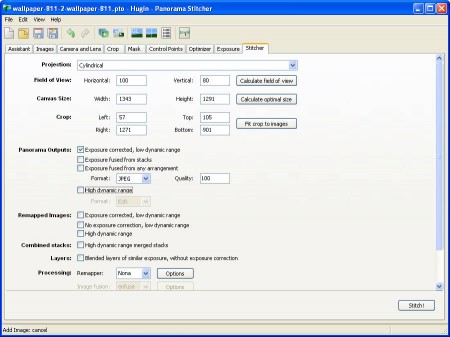
In order to save your stitched panorama with Hugin panorama stitcher, open up the last tab called Stitcher. There select in what kind of format you want to save you image and adjust the quality. You can also select the image size, and various other options with which you can familiarize yourself on this tutorial page. By clicking on Stitch you’ll need to enter image filename and the program will then generate your panorama. Hugin is cross-platform, and packed with options, what more can you ask.


