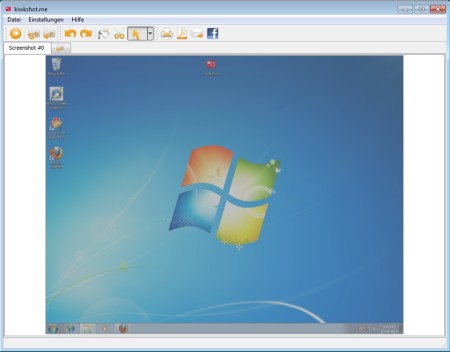
KwikShot is a free screenshot taking software for Windows which you can use to create screenshots, edit them, and then export as PDF documents. As soon as you start-up KwikShot a screenshot of the entire desktop will be created. Next to full-screen screenshots, you can also create only screenshots of program window, but in order for this to work you need to use tools and cut the created full-screen screenshots.
Image above shows us the interface of this free screenshot tool for Windows. At the top we have menus with options and tools while down below you can see a screenshot of the desktop which is automatically made as the application is started. When you first start KwikShot, next to creating screenshots by default, you are also gonna be offered with a four step wizard where you can create a screenshot, edit it, add text, and then export all of it as PDF via email.
Key Features of this KwikShot Free Screenshot Taking Software:
- Screenshot editor, use tools like cut, censor, highlight, draw, arrow pointer.
- Export the created screenshots as PDF documents and share via email, Facebook.
- Direct printing of the created screenshots from the application.
- Tabbed interface, each screenshot goes in to its own tab.
- Screenshot wizard for easily creating and editing screenshots.
- Simple to use and understand interface, tray icon for quick access.
One of the things that might be a problem at first when using this free screenshot taking utility would be the fact that the language of the interface is in German. You can easily figure out how to use the application just by using the icons, or if you understand German, you won’t have any problems at all. Here are few tips to help you get started.
How to Create Screenshots and Edit Them with KwikShot?
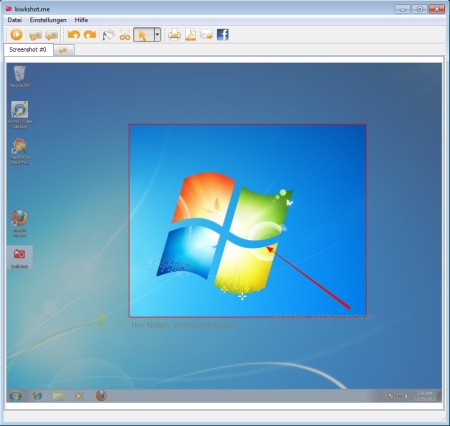
Screenshots, like we already mentioned, are created as soon as you start this free screenshot taking utility. After that you can start editing it by selecting the tools that you want to use from the menu at the top.
The arrow pointer icon which can be seen in the menu in the image above actually holds several additional tools, they can be switched by clicking on the drop down menu and selecting for example the screenshot highlighter, pen tool for drawing and a few others. Image highlighter and arrow pointer can be seen in action in the image above.
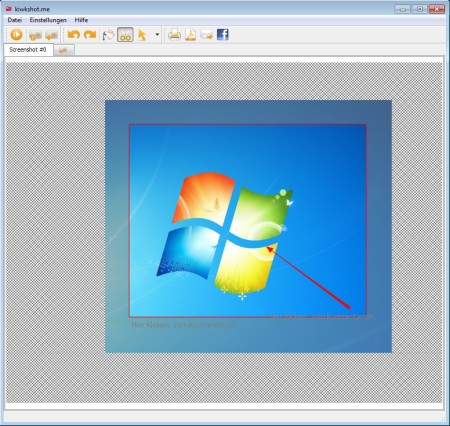
To cut an image you’re gonna have to select the scissors icon from the menu at the top. Once you do that, you can drag a rectangle and only that part of the image will be left.
Conclusion:
KwikShot offers a lot of useful tools which you can use when creating screenshots. Keep in mind that this will only allow you to export created screen caps as PDF documents. You can’t save them as images, which is a drawback but also an advantage if you can only handle PDF documents on your computer. Try it and see how useful it really is.
Check out Grabilla, ScreenSnag, and Image To Link reviewed by us.


